Can Light LED Conversion: How to Upgrade Your Traditional Fixtures to Energy-Efficient Lighting

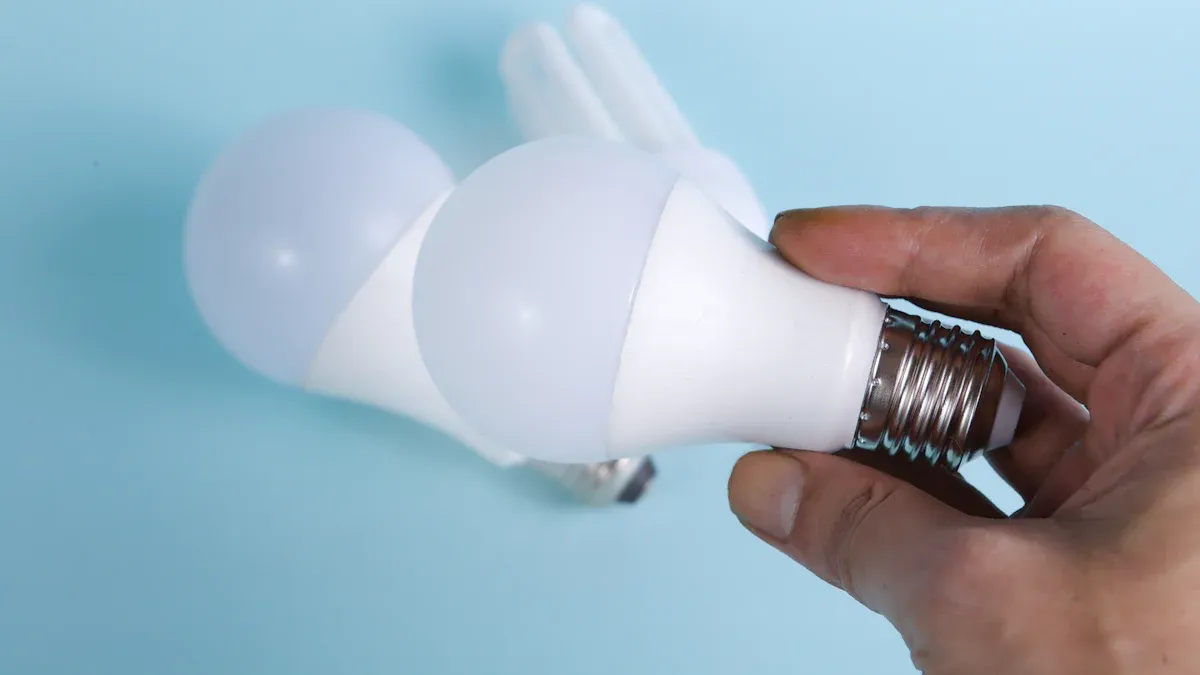
Switching to LED lights for your home is an easy way to enhance your lighting. LED conversion uses significantly less energy than traditional bulbs, potentially cutting your energy consumption by nearly half. For instance, replacing old lights can save about 1,463,450.56 kWh annually. Additionally, LED lights last 25 times longer than incandescent bulbs, which means you’ll spend less on new products and repairs. They are also more environmentally friendly and help reduce your carbon footprint. With LED lights, you can effortlessly upgrade your home lighting. About us: we specialize in providing high-quality LED products to meet your lighting needs.
Key Takeaways
Changing to LED lights can lower energy use by half. This saves you money on your electricity bills.
LED lights can last up to 50,000 hours. This means you won’t need to replace them often.
Using LED lights helps the environment by lowering pollution. It’s a green choice that helps the Earth.
Installing LED retrofit kits is easy and a DIY task. You only need simple tools and no expert help.
Picking the right color for LED lights changes the mood. It makes your space cozy and welcoming.
Benefits of LED Conversion
Energy Efficiency and Reduced Power Usage
Switching to LED lights is a simple way to save energy. LEDs use much less power than regular bulbs, helping you cut energy use. For example:
A large cold-storage warehouse saved 68% energy after switching to LEDs.
During busy times, the energy savings were even greater.
On average, only 32% of the LED lights were used daily, saving more energy.
By using LED lights, you can save energy at home too. Whether in your kitchen or living room, LEDs give bright light without using much electricity.
Cost Savings and Long-Term Value
LED lights don’t just save energy—they save money too. While they cost more upfront, their long life and low energy use make them worth it. Here’s how LEDs save you money:
Lower electricity bills: LEDs use less power, so your bills drop.
Fewer replacements: LEDs last longer, so you buy bulbs less often.
Annual savings: Switching to LEDs saves money on energy and repairs yearly.
Think of LED lights as a smart home upgrade. Over time, they save you money and pay for themselves.
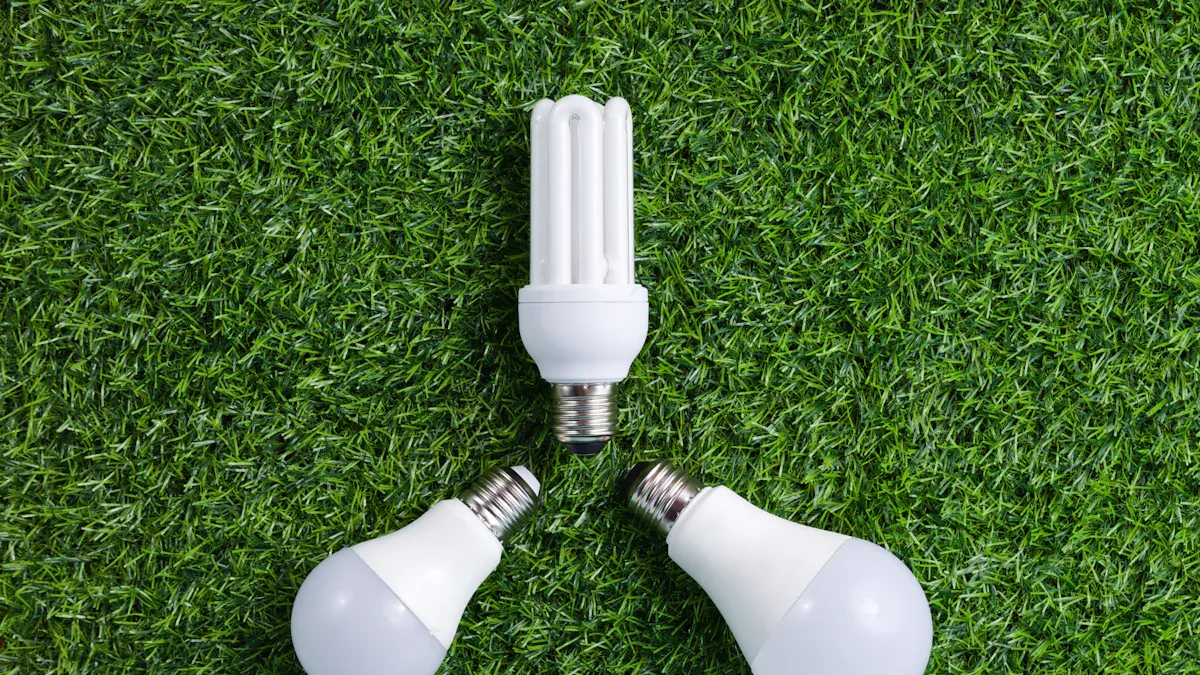
Longevity and Durability of LED Lights
LED lights are super durable and last a long time. Unlike regular bulbs, LEDs are built to last. Check out this comparison:
Lighting Type | Average Lifespan (hours) |
|---|---|
LED Bulbs | Up to 50,000 |
Incandescent Bulbs | About 1,000 |
Halogen Lights | Around 2,000 |
Compact Fluorescent Lamp (CFL) | Up to 15,000 |
LEDs can last 50 times longer than regular bulbs. If you use them 4 hours daily, they’ll last over 17 years! Even if used 12 hours daily, they’ll shine for at least 5 years.
This long life means fewer bulb changes and less work for you. Plus, LEDs stay bright over time, thanks to L70, which shows when 70% of the light is still there. With LED lights, you get strong, lasting brightness that beats regular bulbs.
Environmental Impact of Switching to LED
Switching to LED lighting helps both your wallet and the planet. Replacing old bulbs with LEDs supports sustainability and lowers your carbon footprint.
Here’s why LEDs are better for the environment:
Lighting uses 15% of the world’s electricity. Regular bulbs waste energy, but LEDs are more efficient.
Lighting causes 5% of global greenhouse gases. LEDs use up to 80% less energy, cutting emissions a lot.
If everyone used LEDs, 800 million metric tons of CO2 could be saved yearly. That’s like closing 684 coal power plants!
LEDs last much longer than regular bulbs. Old bulbs burn out after 2,000 hours, but LEDs can last over 30,000 hours. This means fewer replacements, less trash, and a smaller environmental impact.
Tip: Choosing LEDs saves energy and helps build a greener future.
There’s more! In the U.S., switching to LEDs could save $26 billion every year. This money could go to renewable energy or eco-friendly projects.
Every time you turn on an LED, you’re helping the planet. You use less energy, create less waste, and make the Earth cleaner. It’s a small change with a big effect.
How to Check If LED Recessed Lights Will Work
Switching your old can lights to LED recessed lights needs planning. Before starting, make sure your fixtures can handle LED retrofit kits. Follow these steps to check compatibility.
Finding Out About Your Current Can Lights
First, figure out what type of recessed lights you have. Look inside the fixture for labels or markings. These will show the brand, model, and safety standards.
Standard | What It Means |
|---|---|
10 CFR Part 429 | Rules for certifying products like light fixtures. |
16 CFR Part 305 | Labels showing energy use and costs. |
UL 8750 | Safety rules for LED equipment in lights. |
If there are no labels, check the design of the fixture. Many older can lights have springs or brackets that fit LED inserts. These parts make switching to LEDs easier.
Making Sure LED Retrofit Kits Will Fit
After identifying your fixtures, check if they work with LED kits. Here’s what to do:
Look at the housing to see if it fits LED inserts.
Check for springs or clips that hold the LED kit.
Find labels that say the fixture works with LEDs.
Also, think about brightness, color, and quality. For bright light, choose higher lumens and a CRI of 80 or more. Warm colors (2700-3000K) are good for living rooms, while cooler tones (4000K) are better for work areas.
Checking Dimmer and Voltage Needs
LEDs need specific dimmers and voltage to work well. Start by reading the LED kit’s instructions. Most kits work with AC100-277V, which is common in homes.
Voltage Range | What It’s For |
|---|---|
AC100-277V | Normal voltage for houses. |
AC210-480V | Higher voltage for businesses. |
Follow these steps to avoid problems:
Check the LED kit’s voltage and power needs.
See if you need a constant current or voltage driver.
Test your dimmer switch to ensure it works with LEDs.
By checking these things, you’ll prevent flickering and get the best performance from your new LED lights.
Tools and Materials for Replacing Can Lights
You don’t need an electrician to upgrade to LED lighting. With the right tools and materials, you can do it yourself. Here’s what you’ll need to make the process simple and stress-free.
Basic Tools for LED Installation
Before starting, gather some basic tools. These will help you safely switch your old lights to LED retrofit kits:
Screwdriver: Use a flathead or Phillips to remove trims and secure the new kit.
Voltage Tester: Check that the power is off before working. Safety is important!
Wire Strippers: These help if you need to adjust or connect wires.
Ladder: A sturdy ladder makes it easier to reach ceiling lights.
Having these tools ready will save time and effort. You can find them at most hardware stores.
Best LED Retrofit Kits to Consider
Picking the right LED retrofit kit is key for good lighting and energy savings. Here’s a quick look at some popular options:
Kit Name | Price Range | Features | Performance Highlights |
|---|---|---|---|
Eco Lighting Solutions LED Kit | Mid-range | Easy to install, efficient, lasts over 50,000 hours | Bright, steady light with 5000K color, great for many spaces. |
Brightech Ambience Pro LED Kit | Affordable | Strong build, weatherproof, three-year warranty | Warm, clear light, saves up to 60% energy. |
MaxLite Easy Up LED Retrofit Kit | Budget-friendly | Fits existing fixtures, built-in ballast | Big energy savings, high CRI for better color accuracy. |
These kits are durable and perform well. For example, the Eco Lighting Solutions LED Kit lasts 50,000 hours, so you won’t need to replace it often. It’s a smart choice for homes and businesses.
Extra Materials You’ll Need
Besides tools and kits, you’ll need a few more items to finish the job:
Wire Connectors: These join the LED kit to your existing wiring securely.
IC Housing: If your lights are near insulation, use IC-rated housing to avoid overheating.
LED Bulbs: Some kits include bulbs, but others don’t. Pick bulbs with the right brightness and color for your space.
Modern LED retrofit kits are easy to install. Many come with built-in drivers and work with existing fixtures. Some even save up to 70% energy and are safe for wet areas when installed properly.
By gathering these tools and materials, you’ll be ready to upgrade your lighting with ease.
Step-by-Step Guide to Installing LED Retrofit Kits
Upgrading your recessed lighting to LED is easier than you might think. With a little preparation and the right tools, you can transform your home’s lighting in no time. Follow this step-by-step retrofit process to install your LED retrofit kit like a pro.
Preparing Your Workspace for LED Installation
Before you dive into the installation, it’s important to set up your workspace for safety and efficiency. Here’s how to get started:
Turn off the power: Head to your circuit breaker and switch off the power to the recessed light you’ll be working on. Double-check that the light is off by flipping the wall switch or using a voltage tester.
Clear the area: Move any furniture or objects that might get in your way. This gives you enough room to work comfortably.
Protect your floors and furniture: Lay down a drop cloth or an old sheet to catch any dust or debris.
Gather your tools: Make sure you have everything you need, including a screwdriver, ladder, and your LED retrofit kit. Having your tools within reach will save you time.
Wear safety gear: Put on gloves and safety glasses to protect yourself from sharp edges or falling debris.
Pro Tip: If you’re replacing multiple lights, label the circuit breakers for each fixture. This will save you time and prevent confusion later.
Removing Old Bulbs and Trims
Now that your workspace is ready, it’s time to remove the old bulb and trim from your recessed light. This step is straightforward but requires a bit of care.
Wait for the bulb to cool: If the light was recently on, give it a few minutes to cool down. This prevents burns.
Remove the old bulb: Look inside the housing to locate the bulb. If it’s secured by clips, press them gently to release the bulb. For twist-lock bulbs, turn them counterclockwise to remove them.
Detach the trim: Most trims are held in place by springs or clips. Gently pull on the trim to release it from the housing. If it’s stuck, use a flathead screwdriver to pry it loose carefully.
Inspect the housing: Check the inside of the fixture for any dust or debris. Wipe it clean to ensure a smooth installation for your LED retrofit kit.
Safety Note: Always double-check that the power is off before touching any electrical components. Use a voltage tester if you’re unsure.
Installing and Securing the LED Retrofit Kit
With the old components out of the way, you’re ready to install your new LED retrofit kit. This is where the magic happens!
Connect the LED retrofit kit: Follow the manufacturer’s instructions to attach the kit to your existing wiring. Most kits come with easy-to-use connectors that snap into place.
Insert the retrofit into the housing: Align the LED retrofit kit with the recessed light housing. Push it in gently until it clicks or locks into place.
Secure the kit: Use the provided clips or springs to hold the retrofit firmly in the housing. Make sure it’s snug and doesn’t wobble.
Restore the power: Go back to your circuit breaker and turn the power back on. Flip the wall switch to test your new LED recessed lights.
Adjust as needed: If the light isn’t sitting flush with the ceiling, adjust the clips or springs until it’s properly aligned.
Quick Tip: If you’re wondering how to install an LED retrofit kit in a damp area like a bathroom, look for kits labeled as “wet-rated” for added safety.
Congratulations! You’ve successfully upgraded your recessed lighting to energy-efficient LED lights. Not only will your home look brighter, but you’ll also enjoy long-term savings on your energy bills.
Testing and Adjusting Your New LED Lights
After installing your LED retrofit kit, it’s time to check everything. Testing ensures your lights work well and look great. Follow these simple steps to test and adjust your new lights.
Step 1: Check If the Lights Work
First, turn on the wall switch. Does the light come on? If not, check the wiring and make sure the power is on. If your light can dim, try the dimmer switch. See if it changes brightness smoothly. Flickering or no dimming might mean the dimmer isn’t right for LEDs.
Quick Tip: If the light flickers, use a dimmer made for LEDs. This small fix can solve the problem.
Step 2: Look at the Light’s Brightness and Color
Next, see how bright the light is and what color it gives off. Does it look the way you want? If it’s too bright or too dim, you may need to adjust the lumens or color temperature. Warm tones (about 2700K) feel cozy, while cool tones (4000K or more) are better for work areas.
Step 3: Learn About Advanced Tests
Some tests check how well your LED lights perform. Here are a few examples:
Test Type | What It Checks |
|---|---|
Hi-Pot Test | Makes sure no electricity leaks from the wires to other parts. |
Function Test | Confirms the light turns on, off, and dims as it should. |
Endurance Test | Runs the light for hours to check safety and performance. |
Integrating Sphere Test | Measures brightness, color, energy use, and other important details. |
You don’t need to do these tests yourself. Companies test their products to make sure they’re safe and work well.
Step 4: Make Final Adjustments
Finally, make small changes to get the perfect look. If the light doesn’t sit flat against the ceiling, adjust the clips or springs. For dimmable lights, tweak the dimmer settings to create the right mood.
Pro Tip: Use the same brightness and color for all lights in a room. This keeps the space looking even and balanced.
Testing and adjusting your LED lights is an important step. It helps you get the best lighting for your home. With a little effort, you’ll enjoy bright, energy-saving lights that improve your space.
Safety Tips for Switching to LED Lights
Changing your lights to LED is exciting, but safety matters most. Following safety steps makes the process smooth and keeps you safe.
Turn Off Power Before Starting
Always turn off the power before working with electricity. This step is very important to avoid accidents. Here’s how to do it:
Switch off the circuit at the breaker box.
Lock the breaker to stop others from turning it on.
Use a voltage tester to ensure no electricity is flowing.
Safety Tip: Treat all wires as if they’re live until tested. Even small shocks can be dangerous.
Turning off the power helps prevent shocks and fires. It’s a simple but life-saving step.
Use the Right Tools and Gear
Using proper tools and safety gear makes the job easier and safer. Here’s what you’ll need:
Voltage Tester: Check that the power is off before touching wires.
Insulated Gloves: Protect your hands from electric shocks.
Safety Glasses: Keep your eyes safe from dust or sparks.
Ladder: Use a strong ladder to reach ceiling lights safely.
Pro Tip: Don’t use metal ladders near electricity. Choose wood or fiberglass instead.
The right tools and gear reduce risks and help you handle surprises.
Avoid Electrical Dangers
Electrical dangers happen more often than you think. Thousands of injuries occur yearly due to unsafe practices. Here’s how to stay safe:
Check wires for damage before starting. Replace bad wires.
Keep your workspace dry to avoid shocks.
Use LED lights that match your fixture’s voltage to prevent overloading.
Did You Know? About 4,000 electrical injuries happen each year. Many can be avoided with proper care.
By following these tips, you’ll stay safe and make your LED conversion easy. Safety isn’t optional—it’s essential.
Tips for Maximizing Efficiency with LED Recessed Lights
Picking the Best LED Color Temperature
Choosing the right color temperature changes how a room feels. Color temperature, measured in Kelvin (K), shows if light looks warm or cool. For example:
Reading Time | Brightness (lux) | Color Temperature (K) |
|---|---|---|
15 minutes | 500 | 6,500 |
30 minutes | 500 | 4,000 |
60 minutes | 750 | 6,500 |
Warm tones like 2700K–3000K are great for cozy spaces. Cooler tones like 4000K–5000K work better for kitchens or offices. Matching the light to the room’s purpose improves comfort and focus.
Tip: Try different temperatures first. It helps you pick the best one.
Using Smart LED Bulbs for Better Control
Smart LED bulbs make lighting easier and smarter. You can adjust brightness, colors, and schedules using your phone or voice assistant. These bulbs use 90% less energy than old incandescent ones, saving money and helping the planet.
Why smart bulbs are helpful:
They make your home look occupied when you’re away.
Motion sensors and dimming features save up to 75% energy.
You can control lights remotely, making life simpler.
Smart LED bulbs improve lighting, save energy, and add security to your home.
Easy Maintenance for Best Performance
Taking care of your LED lights keeps them working well. Cleaning fixtures every 6–12 months boosts brightness by up to 30%. This keeps your lights efficient without using more power.
Steps to maintain your lights:
Dust and clean fixtures to keep them bright.
Check for loose wires or broken parts while cleaning.
Replace bulbs only when needed since LEDs last longer.
Did You Know? Regular care makes lights last longer and saves money on replacements.
Follow these tips to keep your LED recessed lights efficient. You’ll enjoy brighter, energy-saving lighting at home.
Changing to LED recessed lights is a smart choice for your home. The advantages are clear. You’ll lower energy bills, have longer-lasting lights, and help the environment. LEDs use about 90% of energy to make light, so they’re very efficient. Their strong design also means they last a long time, even in tough conditions.
Benefit | What It Means |
|---|---|
Saves Energy | LEDs use 90% of energy for light, cutting electricity costs. |
Long Lifespan | LEDs work for over 25,000 hours, much longer than old bulbs. |
Tough and Durable | LEDs resist shocks and bumps, making them great for many places. |
Eco-Friendly | LEDs have no mercury and can be recycled, helping the planet. |
Switching old can lights to LED recessed lights is easier than it seems. With the right tools and a little planning, you can upgrade quickly. Why keep using old lights when LEDs are brighter and save more energy? Start today and enjoy a greener, cheaper future for your home.
FAQ
1. Can I install LED retrofit kits without professional help?
Yes, you can! LED retrofit kits are designed for easy installation. With basic tools like a screwdriver and ladder, you can replace your old lights in no time. Just follow the instructions and safety tips provided in the kit.
2. Do LED recessed lights work with dimmer switches?
Most LED lights work with dimmers, but not all dimmers are compatible. Check your LED kit’s specifications to ensure it supports dimming. If flickering occurs, switch to an LED-compatible dimmer for smooth brightness control.
3. How long do LED recessed lights last?
LED recessed lights can last up to 50,000 hours. That’s over 17 years if used 4 hours daily! Their durability means fewer replacements and less hassle for you.
4. Are LED lights safe for damp areas like bathrooms?
Absolutely! Look for LED kits labeled “wet-rated” or “damp-rated.” These are specially designed to handle moisture and humidity, making them perfect for bathrooms or outdoor spaces.
5. What color temperature should I choose for my room?
It depends on the vibe you want. Warm tones (2700K–3000K) create a cozy feel for living rooms. Cooler tones (4000K–5000K) work better for kitchens or offices. Test different options to find the perfect match for your space.
See Also
Comparing LED Light Fixtures With Conventional Lighting Solutions
Your Complete Guide to Switching From Fluorescent to LED
Transforming High Bay Fixtures to Energy-Efficient LED
Evaluating LED Streetlights Against Conventional Alternatives for Savings
Best LED Solutions for Energy-Saving Commercial Track Lighting
