Convert Fluorescent Fixtures to LED

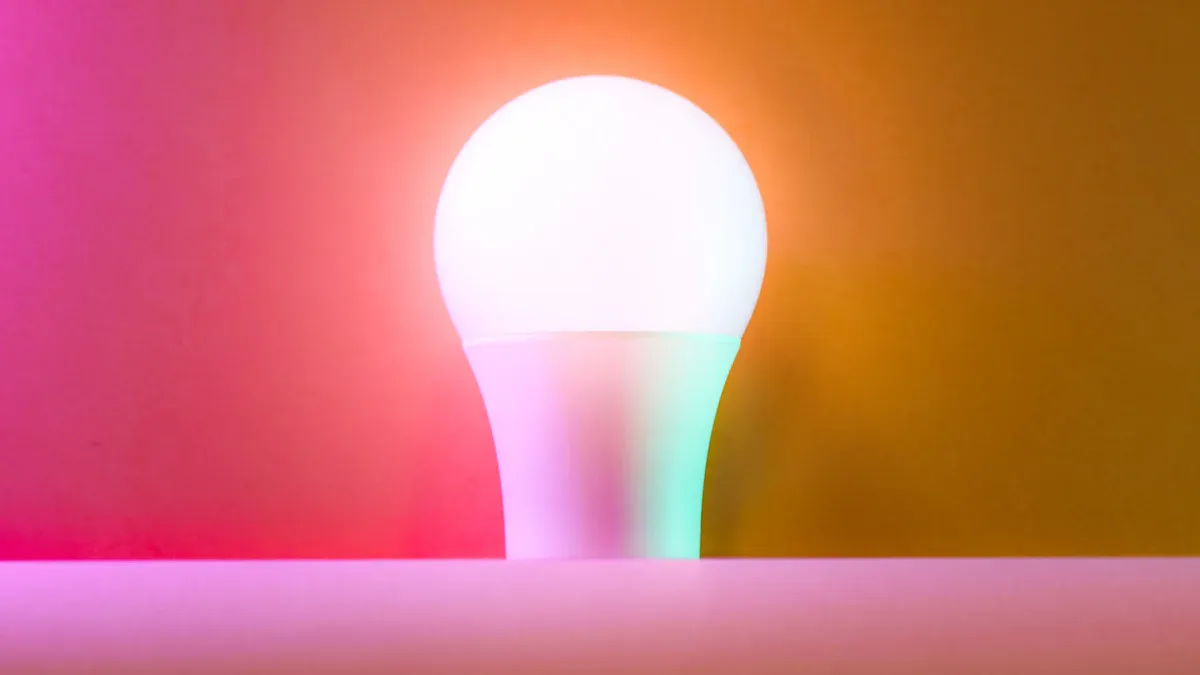
You can easily Convert Fluorescent Fixtures in your home to LED Light options. This upgrade will make your home brighter and more energy-efficient. Many people choose to do this because LED lights use less energy and last longer than traditional fluorescent fixtures. When considering the Product options, you can either replace the fluorescent tubes with LED Light tubes or swap out the entire fixture. Some methods allow you to keep your existing fixture, while others provide a brand new one. On our About Us page, we explain how simple it is to upgrade. So, why not make the switch today?
Key Takeaways
Changing from fluorescent to LED lights uses less energy and can cut your electric bill in half. - You can change your fixtures by swapping tubes, skipping ballasts, using retrofit kits, or putting in new LED fixtures. - Always turn off the power and make sure everything matches before you start. This keeps the upgrade safe and works well. - LED lights last a lot longer than fluorescent tubes. This means you spend less money and time fixing or replacing them. - Pick the way to switch that matches your budget, skills, and how your fixture looks. This helps you get the best results.
Can You Convert Fluorescent Fixtures?
Conversion Basics
You might wonder if you can convert fluorescent fixtures in your home or office. The answer is yes! You have several ways to make this upgrade. Most people choose to convert fluorescent fixtures because LED lighting offers better energy savings and longer life. You do not need to replace the whole fixture in many cases. You can often use your current fixture and just swap out the tubes. This process is called a fluorescent to led conversion.
Here are the main ways you can handle the conversion:
Use LED tubes that work with your existing ballast.
Remove the ballast and wire the fixture directly for LED tubes.
Install a retrofit kit that updates the inside of your fixture.
Replace the entire fixture with a new LED model.
Each method has its own steps and benefits. Some options let you finish the conversion quickly. Others take more time but give you better results. You get to choose what works best for your space and budget.
Safety and Compatibility
Before you start any conversion, you need to think about safety. Always turn off the power at the breaker before you touch any wires or tubes. Double-check that the fixture is not live. If you feel unsure, ask a licensed electrician for help.
Not all LED tubes fit every fixture. You must check if your fixture and the new LED tubes are compatible. Some tubes work with the old ballast, while others need you to remove it. Read the instructions that come with your LED tubes. Look for labels that say "ballast compatible" or "direct wire." This step helps you avoid problems during the conversion.
Tip: Take a photo of your fixture's wiring before you start. This makes it easier to put everything back together if you get stuck.
When you convert fluorescent fixtures, you make your lighting safer, brighter, and more efficient. You also cut down on maintenance and energy costs. With the right tools and a little planning, you can enjoy all the benefits of LED lighting.
Why Replace Fluorescent with LED?
Energy Savings
You want to save money on your electric bill, right? When you replace fluorescent with LED, you use much less energy. LED lighting solutions need less power to make the same amount of light. This means you get big savings every month. Many people see their energy costs drop by up to 50%. That’s a lot of savings over time! If you run a business or manage a building, these savings add up even faster. The efficiency of LED lights is hard to beat. You get more light for less energy. This is one of the biggest benefits of converting to LED. You also help the planet by using less energy. Energy-efficient LED upgrades make your home or office greener and cheaper to run.
Tip: Check your old electric bills and compare them after you switch to LED. You’ll see the savings for yourself!
Light Quality
LED lighting solutions give you better light. You notice the difference right away. The light from LEDs looks brighter and more natural. You can pick from different colors and brightness levels. This helps you create the perfect mood in any room. Fluorescent lights sometimes flicker or buzz. LEDs do not have these problems. You get steady, clear light every time you flip the switch. The benefits of LEDs include less eye strain and a more comfortable space. Good lighting makes it easier to work, read, or relax.
Maintenance and Longevity
You probably do not want to change bulbs all the time. When you replace fluorescent with LED, you get a much longer lifespan. LEDs can last up to 50,000 hours. That’s years of use before you need to think about a new bulb. This longer lifespan means fewer trips up the ladder and less hassle. You also save money on maintenance. The maintenance savings are real. You spend less on new bulbs and less time fixing lights. The efficiency of LEDs means they stay cooler, so your fixtures last longer too. All these benefits make LED lighting a smart choice for any space.
Benefit | Fluorescent | LED Lighting Solutions |
|---|---|---|
Energy Efficiency | Moderate | High |
Savings | Low | High |
Lifespan (hours) | 7,000-15,000 | 25,000-50,000 |
Maintenance Savings | Low | High |
Fluorescent to LED Conversion Methods
When you start a fluorescent to led conversion, you have a few choices. Each way has good and bad points. Some ways work better for certain needs. Let’s look at the main ways to upgrade your lighting.
Ballast-Compatible LED Tubes
Ballast-compatible LED tubes are also called “plug-and-play.” You can take out the old tube and put in a new LED tube. You do not need to change the wiring. This works best if your fixture’s ballast is still working well.
Pros:
You can install them fast and easily.
You do not need to rewire or remove the ballast.
You only need a few tools.
Cons:
The ballast might break later and stop the light.
Not every ballast works with all LED tubes.
The ballast still uses power, so you save a little less energy.
Best for:
You want a quick upgrade with little work. Your ballasts work and you do not want to do electrical work.
Tip: Always look for “ballast compatible” on the box before you buy. Not every LED tube fits every fixture.
Ballast Bypass (Direct Wire)
Ballast bypass, or direct wire, means you take out the ballast. You connect the power right to the sockets. You use special LED tubes made for direct wiring. This way saves more energy and has fewer parts that can break.
Pros:
No more ballast problems.
You get the most energy savings.
It works with most fixtures.
Cons:
You need to do some rewiring.
It takes more time and care.
You must follow safety rules.
Best for:
You want a fix that lasts a long time. You know how to do basic wiring or will hire someone. You want to stop ballast problems.
LED Fluorescent Retrofit Kits
LED fluorescent retrofit kits let you upgrade old fixtures without buying new ones. These kits have new LED strips, drivers, and mounting parts. Many kits are plug-and-play, so you can put them in yourself.
You get longer life and better light with different color choices.
LED retrofit kits save energy and are safer for the earth because they have no mercury.
Many kits are easy to put in, especially plug-and-play ones, so you may not need an electrician.
Some kits need you to take out the ballast or change wires, but plug-and-play kits are simple.
Over time, these kits help you save money on energy and fixing lights.
Check your fixture and ballast before you buy to pick the right kit.
If you see flickering, check if it fits or try a ballast bypass.
Best for:
You want to keep your fixture but want better lights and easy care. You like doing projects yourself with clear steps.
Full Fixture Replacement
Sometimes, the best way is to take out the old fixture and put in a new LED fixture. This gives you the newest features and best energy savings.
Pros:
You get brand new LED lighting solutions.
No old parts are left to break.
You get a modern look and new features.
Cons:
It costs more at first.
It takes more work to put in.
You might need a pro for wiring.
Best for:
Your fixtures are old or broken. You want new LED fixtures and the best results.
LED Panel Upgrade
LED panel lights give you a smooth, modern look. LED panels fit in drop ceilings or can go on almost any ceiling. They spread light evenly and work well in offices, kitchens, and schools.
Pros:
The light is smooth and even with no dark spots.
They look modern.
They are easy to clean and take care of.
Cons:
They may not fit every fixture.
They cost more than tubes at first.
They take more time to put in.
Best for:
You want to light up a big area or want a clean, modern style. You need to change old 4ft t8 led tube lights in a drop ceiling. You want the best light and energy savings.
Method | Pros | Cons | Best Use Case |
|---|---|---|---|
Ballast-Compatible Tubes | Fast, easy, no rewiring | Ballast may fail, less savings | Quick DIY, working ballasts |
Ballast Bypass (Direct Wire) | Max savings, no ballast issues | Needs rewiring, more time | Long-term, skilled DIY or pro |
LED Retrofit Kits | Long life, easy install, cost savings | Check compatibility, some wiring | Keep fixture, easy upgrade |
Full Fixture Replacement | New tech, modern look | Costly, more work | Old/damaged fixtures, best performance |
LED Panel Upgrade | Even light, stylish, low maintenance | Cost, may not fit all spaces | Offices, schools, modern home upgrades |
Note: If you want to change your 4ft t8 led tube lights, you can use any of these ways. Each one helps you save energy and get better lighting.
No matter which way you pick, changing fluorescent tube lights to led will make your space brighter, safer, and more efficient. You can choose the way that fits your skills, budget, and lighting needs.
Choosing a Conversion Method
Assessing Fixtures
Before you start your LED upgrade, take a good look at your current fixtures. You want to know if your fixtures are in good shape or if they need replacing. Check the type of ballast and see if it works with new LED tubes. Some fixtures work with plug-and-play LED tubes, while others need a direct wire setup. If you want to choose the right led tube light, look at the size, shape, and how the fixture mounts to the ceiling. Make sure the color temperature and brightness match what you need for your space. This step helps you avoid problems like flickering or dimming after you finish the upgrade.
Tip: Snap a photo of your fixture and ballast label before shopping. This makes it easier to choose the right led tube light at the store.
Cost and Complexity
Think about how much you want to spend and how much work you want to do. Some LED options cost more up front but give you bigger energy savings over time. Plug-and-play tubes are quick and easy, but you might not get the best efficiency. Ballast bypass tubes need more wiring but save more energy and lower your bills. Retrofit kits and full fixture replacements cost more but can boost lighting quality and efficiency. Always factor in long-term savings, not just the first price. You might find rebates or incentives that help with the cost of your upgrade.
Method | Upfront Cost | Installation Time | Energy Savings | Maintenance |
|---|---|---|---|---|
Plug-and-Play Tubes | Low | Fast | Good | Moderate |
Ballast Bypass Tubes | Medium | Moderate | Best | Low |
Retrofit Kits | Medium-High | Moderate | High | Low |
Full Fixture Upgrade | High | Long | Best | Lowest |
Best Fit Scenarios
You want to pick the method that fits your needs. If you want a fast upgrade and your ballasts work, plug-and-play tubes make sense. If you want the most energy savings and fewer repairs, go with a ballast bypass. Retrofit kits work well if you like your current fixtures but want better efficiency and light quality. Full fixture upgrades are best for old or broken fixtures. Always test your new LED lights after installation to catch any issues. Keep an eye on your lights for a few days to make sure you get the best performance and savings.
Note: Safety comes first. If you feel unsure about wiring, call a pro. This keeps your upgrade safe and gives you peace of mind.
Ballast Bypass Steps
Upgrading your old fluorescent fixture with a ballast bypass is a smart way to enjoy all the benefits of LED lighting. You can follow these steps to make the conversion safe and easy. Let’s walk through the process together.
Preparation and Tools
Before you start, you need to get ready. Good preparation makes the conversion smoother and safer. Here’s what you should do:
Turn off the power at the circuit breaker. This step keeps you safe from electrical shock.
Put on gloves and safety goggles. You want to protect your hands and eyes.
Gather your tools. You will need wire strippers, wire connectors, a screwdriver, and electrical tape.
Make sure you know how your fixture is wired. Take a photo of the wiring before you begin.
If you feel unsure about any step, call a licensed electrician.
Always follow your local electrical codes.
Tip: Lay out all your tools and new LED tubes before you start. This helps you work faster and keeps everything within reach.
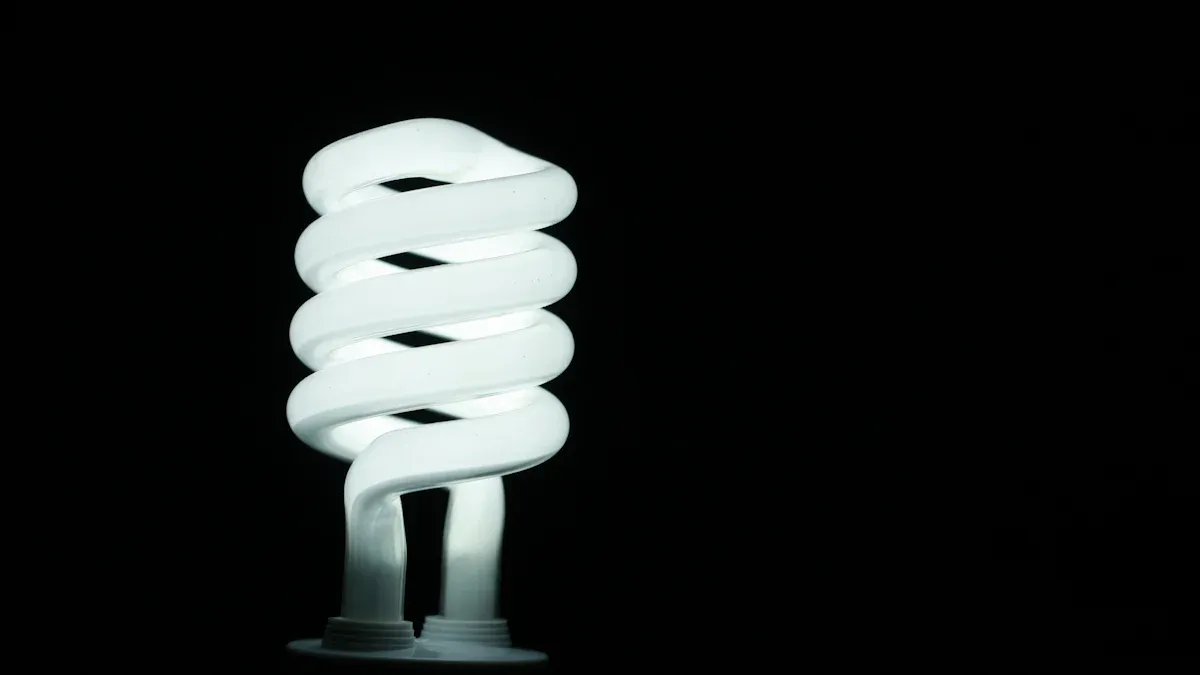
Power Off and Remove Tubes
Now you’re ready to begin the conversion. First, double-check that the power is off. Flip the light switch and make sure nothing turns on. Then, carefully remove the old fluorescent tubes from the fixture. Set them aside for safe disposal.
Remove the fixture cover or lens.
Gently twist and pull out each tube.
Place the tubes somewhere safe so they don’t break.
Note: Fluorescent tubes can break easily. Handle them with care and keep them away from children and pets.
Remove Ballast
The next step in the conversion is to take out the old ballast. The ballast is a small metal box inside the fixture. It controls the power for fluorescent tubes, but you don’t need it for LED tubes.
Unscrew the cover over the wiring.
Find the ballast and disconnect the wires attached to it.
Remove the ballast from the fixture.
You can recycle the ballast at a local recycling center. Removing the ballast helps your new LED tubes last longer and saves more energy.
Rewire for LED
Now you need to rewire the fixture for your new LED tubes. Most LED tubes for ballast bypass have clear instructions on the box. Here’s a simple way to do it:
Connect the power wires (usually black and white) directly to the sockets (also called tombstones) at one or both ends, depending on your LED tube type.
Use wire connectors to secure the wires. Make sure the connections are tight.
Wrap electrical tape around the connectors for extra safety.
Double-check your wiring against the instructions that came with your LED tubes.
Tip: Some LED tubes need power on one end only (single-ended), while others need power on both ends (double-ended). Always check the label on your LED tubes before wiring.
Install and Test
You’re almost done! Now you can finish the conversion and enjoy your new LED lighting.
Insert the new LED tubes into the fixture.
Replace the fixture cover or lens.
Flip the light switch and watch your LED lights turn on. They should light up right away, with no flicker or dimming.
Keep an eye on your lights for a few days. Make sure they stay bright and steady.
If you see any flickering or the lights don’t turn on, turn off the power and check your wiring. Sometimes a loose connection can cause problems. Fix any issues and test again.
Tip: Monitor your new LED lights for a week or two. If you notice any problems, check the wiring and connections. Good wiring means your LED lights will work well for years.
A ballast bypass conversion gives you brighter, more efficient lighting. You save money on energy and spend less time changing bulbs. With a little care and the right steps, you can upgrade your space and enjoy all the benefits of LED lighting.
Troubleshooting LED Conversion
Flickering or No Light
You finished your upgrade, but the new lights flicker or stay off. This can be annoying. Most problems happen because the led tubes do not connect well. Sometimes, a loose wire or bad connection makes the light flicker. If the power does not reach the led tubes, you might see no light at all. Always check if you put the tubes in the right way. Some led tubes need power on one end. Others need power on both ends. If you see flickering, take out the tube and put it back in. Make sure the tube fits tight in the socket.
Tip: If your led lights will not turn on, check if the power is on and the breaker is working.
Compatibility Issues
Not every led tube fits every fixture. You may have a ballast that does not work with your new led tubes. Some tubes need you to remove the ballast. Others work with the ballast left in. If you use the wrong type, the lights may not work or might flicker. Always read the label on your led tubes before buying. Look for words like "ballast compatible" or "direct wire." If you are not sure, take a photo of your fixture and ask for help at the store. Picking the right tube saves you time and trouble.
Wiring Errors
Wiring mistakes can cause lots of problems during a led conversion. You might see flickering, dim lights, or no light at all. Sometimes, a loose wire or bad connection makes your lights work only sometimes. Using the wrong driver or connecting wires the wrong way can also hurt your led tubes. Here is a table that shows common wiring errors, what they cause, and how you can stop them:
Common Wiring Error | Symptoms/Issues Caused | Prevention Methods |
|---|---|---|
Incorrect Wiring | Flickering, irregular lighting, no light | Follow the instructions from the maker; make sure you wire it right |
Poor Wiring Quality | Flicker, light changes, LED damage | Use good wires for LED; get help from a pro |
Loose Wire Connections | Lights work sometimes, stop working, safety risk | Tighten and cover all wires; check often and get a pro to look |
Use of Incompatible LED Driver | Bad performance, early failure | Use drivers with the right voltage and current for your LED |
Faulty LED Driver | Flicker, dimming, lights stop working | Check the soldering; replace with a good driver; make sure wires are tight |
Note: If you are not sure about wiring, it is safer to call a pro.
LED Fluorescent Retrofit Tips
Product Selection
Choosing the right LED products makes your upgrade much easier. You want to pick LED tubes or retrofit kits that match your fixture size and type. Look at the color temperature and brightness. Do you want a warm, cozy light or a bright, cool one? Check the packaging for words like "ballast compatible" or "direct wire." This helps you avoid problems later. If you have a unique fixture, a retrofit kit can give you more options. Always read reviews and ask for help at the store if you feel unsure.
Tip: Take a photo of your old fixture and bring it with you when shopping. This helps you find the perfect fit.
Safe Disposal
When you remove old fluorescent tubes and ballasts, you need to handle them safely. Some ballasts made before 1979 may contain PCBs, which are harmful chemicals. The EPA says you must treat leaking or removed PCB ballasts as hazardous waste. These need special disposal at approved centers. Non-leaking ballasts can go to recycling or regular disposal, but you should never just throw them in the trash. Removing old ballasts right away keeps your home safe from leaks or fumes. Always check with your local waste center for the best way to get rid of these parts.
Note: Handle old tubes and ballasts with care. Wear gloves and keep them away from kids and pets.
When to Hire a Pro
Sometimes, you need a licensed electrician for your fluorescent to LED conversion. Here are some situations where calling a pro is the best choice:
Your home has old wiring or an outdated electrical panel.
You need to upgrade your panel or make big changes to the wiring.
You want to make sure your project meets all electrical codes.
You worry about fire hazards or safety risks.
You want insurance coverage and peace of mind.
You plan to sell your home and want to pass inspection.
A licensed electrician knows how to handle tricky jobs. They keep your home safe and make sure your retrofit project goes smoothly.
When you switch from fluorescent to led, your rooms get brighter. Your energy bills go down. You do not have to change bulbs as often. Led lights use less energy and give better light. You save money and get more efficient lighting every day. Choose the upgrade method that works best for you. Start your upgrade now to enjoy these benefits. You will see how much energy you save. Replacing fluorescent with led is simple and helpful.
FAQ
Can you use LED tubes in any fluorescent fixture?
You can use LED tubes in most fluorescent fixtures, but you need to check compatibility. Some LED tubes work with the existing ballast. Others need you to bypass the ballast. Always read the packaging and instructions before you buy.
Do you need to remove the ballast for LED tubes?
Some LED tubes need you to remove the ballast. These are called "ballast bypass" or "direct wire" tubes. Plug-and-play LED tubes work with the ballast left in. Check your LED tube type before you start.
Is it safe to convert fluorescent fixtures to LED yourself?
You can do it safely if you follow instructions and turn off the power. If you feel unsure or see old wiring, call a licensed electrician. Safety comes first every time.
What should you do with old fluorescent tubes and ballasts?
Handle old tubes and ballasts with care. Take them to a recycling center or hazardous waste site. Never throw them in the trash. Some ballasts contain harmful chemicals.
Will LED tubes save you money?
Yes! LED tubes use less energy and last much longer than fluorescent tubes. You will see lower electric bills and spend less on replacements. The savings add up over time.
See Also
Complete Guide To Switching Fluorescent Tubes Over To LEDs
How To Replace Fluorescent Tubes With LED Lights Easily
Transforming High Bay Fixtures With Efficient LED Lighting
Measuring And Choosing Proper LED Tubes For Fluorescent Fixtures
