Down Lighting Installation: DIY Steps vs. Professional Installation Considerations

Ever looked up at your ceiling and wondered if you could handle Down Lighting Installation on your own? You might feel excited to add a fresh look to your home, but safety and skill matter a lot here. Project complexity can make a big difference in your decision. Take a look at the table below to see how costs change with complexity:
Project Type | Cost per Sq Ft |
|---|---|
Standard | |
Complex | $1.30 - $2.60 |
Safety checks and inspections keep your home protected, especially when working with Led Light systems. If you want peace of mind, hiring a pro who knows all about us, codes, and product rules might be your best bet.
Key Takeaways
Make a good plan for your down lighting to get the look you want and stop glare or dark areas. - Use the correct tools and follow safety rules like turning off the power before you start. - Doing it yourself can save money but you need some electrical skills and must pay close attention. - Getting a professional is safer, follows the rules, gives better work, and helps you later if needed. - Think about your skills, how big the project is, and your budget to pick the best way to install lights in your home.
Down Lighting Installation Overview
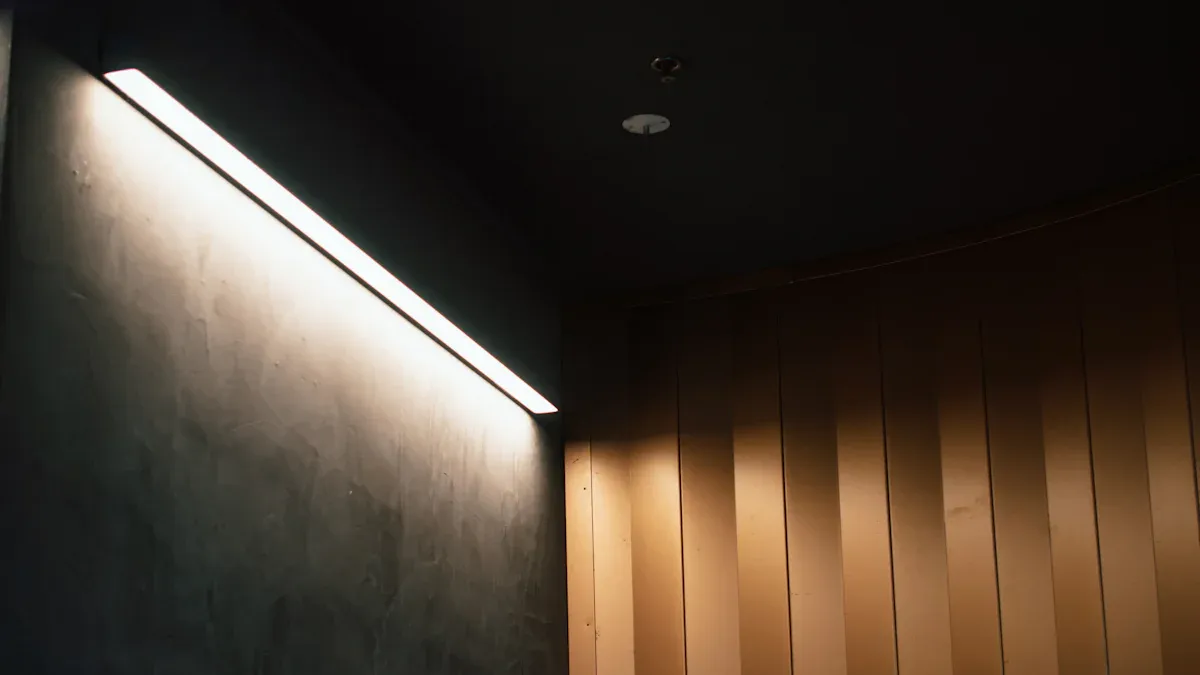
What Is Down Lighting?
You can see down lighting in many places. These lights are put into the ceiling. They shine light straight down. This makes rooms look clean and modern. Down lighting can help a room look bigger and brighter. You can use it to show off a painting. It can light up your kitchen counters. It can also make your living room feel cozy.
The market for down lighting is getting bigger fast. Here are some important trends:
Segment | Key Insights |
|---|---|
Installation Type | New installations have 63.23% of the money made in 2024. Retrofit installations are growing the fastest. |
Application | Indoor lighting has 67.75% of the money made. Outdoor lighting is growing a lot. |
Sales Channels | Most sales happen in stores with 67.50%. Online sales are growing the fastest at 11% each year. |
End Use | Businesses use down lighting the most with 51.11%. Homes are using more each year at 8.7%. |
Regional Growth | Europe, Asia-Pacific, and other places are growing a lot. |
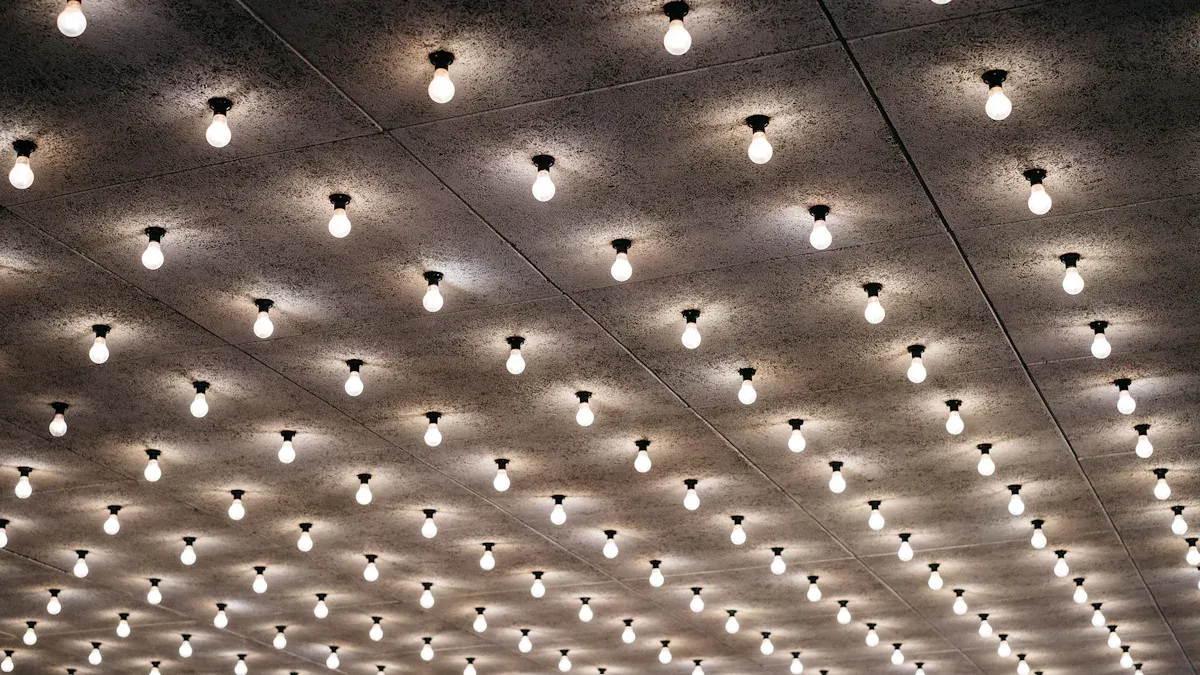
LED down lights are very popular now. They save energy and last a long time. They come in many different styles. You can get recessed, surface-mounted, pendant, and smart down lights. Some smart down lights work with your phone.
Why Proper Installation Matters
It is very important to install Down Lighting the right way. If you hurry or skip steps, you might have problems later. Here are some reasons why good installation matters:
Good installation helps control heat. LEDs can get warm. Too much heat can hurt them.
The right drivers keep power steady and protect your lights.
Following the maker’s instructions keeps your lights from wearing out too fast.
Enough airflow around your lights keeps them cool and working well.
Checking your wiring makes sure it matches your new lights. This helps stop electrical problems.
Always use the right tools and follow safety rules to stay safe.
Cleaning and checking your lights sometimes helps them last longer.
Tip: If you install down lights well, they can last up to 100,000 hours. They can save you up to 80% on your electric bill compared to old bulbs!
Planning Your Down Lighting Installation
Layout and Design Basics
Before you start, take a good look at your space. Planning your lighting layout helps you get the right look and feel. You want your room to feel bright and comfortable, not harsh or gloomy. Here are some tips to help you plan:
Mix up your lighting. Use different brightness levels instead of making everything the same.
Try adjustable lights. These let you change the direction and focus of the light.
Place your lights to avoid glare and strange reflections. Small fixtures work well for this.
Pick lights that match your room’s style and colors.
Use spotlights to show off art or special features. Avoid lights that make everything look flat.
Matte ceilings help spread light and cut down on glare.
In kitchens, combine ceiling lights with under-cabinet lights. This keeps shadows away from your counters.
For kitchens, use a color temperature between 2700K and 3000K. This keeps colors looking natural.
Bathrooms need bright, safe lights. Look for LED downlights with the right protection for wet areas.
Hallways and stairs need enough light for safety. Aim for at least 100 lux on stairs and 100-150 lux in hallways.
Tip: Think about your ceiling height and wall colors. Dark walls and high ceilings may need more lights.
Fixture Types: Plug-In vs. Hardwired
You have two main choices for down lights: plug-in or hardwired. Plug-in fixtures are easy to install. You just plug them into an outlet. These work well if you want a quick update or if you rent your home. You can move them or take them down without much trouble.
Hardwired fixtures connect directly to your home’s wiring. These look cleaner and feel more permanent. They often need more skill to install. You may need to cut into the ceiling or run new wires. Hardwired lights are safer and more reliable for long-term use, but you should only try this if you feel confident with electrical work.
Note: If you are not sure about wiring, it is best to call a pro. Safety always comes first.
DIY Down Lighting Installation Steps
Tools and Materials
Before you start your Down Lighting Installation, gather the right tools and materials. Having everything ready makes the job smoother and safer. Here’s a list of what you’ll need:
6” hole saw
Hole saw dust bowl
Non-contact voltage tester
Wire strippers
Wire fishing tape
54” flex bit
16” self-feeding spade bits
ISOtunes Bluetooth earbuds (for hearing protection)
6” LED wafer lights
LED wafer lights work well for most ceilings. They are thin and easy to fit around ceiling studs. You can avoid big holes and tricky framing.
Step-by-Step Process
Let’s break down the steps:
Turn off the power at the breaker. Always check with a voltage tester.
Mark where you want each light. Measure for even spacing.
Use the 6” hole saw and dust bowl to cut clean holes in the ceiling.
Run the wire from your power source to each hole. Use wire fishing tape and flex bits to help.
Strip the wire ends and connect them to the LED wafer lights. Follow the instructions in the manual.
Secure the lights in the ceiling. Make sure they fit snugly.
Restore power and test your new lights.
Tip: Always read the fixture manual before you start. Each light may have special steps.
Safety Tips
Safety comes first. Here are some tips to keep you safe:
Always turn off the power before you touch any wires.
Use a non-contact voltage tester to double-check.
Wear hearing protection when cutting.
Never overload your circuit. Check how many lights your breaker can handle.
Make sure all wires are tight and connections are secure.
Common Mistakes
Many people make the same mistakes during installation. Avoid these to keep your project safe and looking good:
Skipping the instructions. This can lead to poor installation.
Not turning off the power. This is very dangerous.
Using the wrong tools. This can damage your ceiling or lights.
Incorrect wiring. This can cause lights to fail or even start a fire.
Ignoring the junction box. This increases fire risk.
Overloading the circuit. This can cause overheating.
Poor placement planning. This leads to uneven lighting.
Not checking ceiling type. Some ceilings need special care.
Using the wrong size light. This affects how your room looks.
Forgetting about ventilation. Lights need airflow to stay cool.
Note: DIY Down Lighting Installation works best for simple projects and if you have basic electrical skills. If you feel unsure, call a professional.
Professional Installation
What Professionals Do
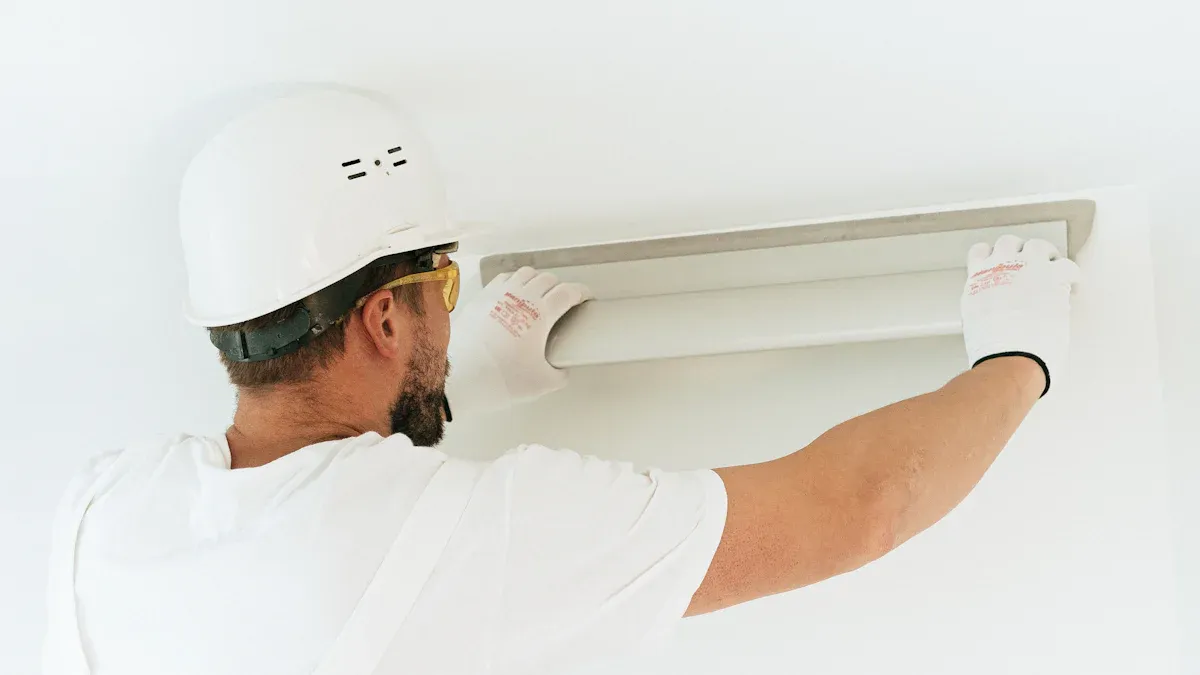
When you hire a professional for Down Lighting Installation, you get more than just someone to put in lights. Experts plan your project from start to finish. They look at your space, listen to what you want, and suggest the best lighting options. Professionals use high-quality tools and materials. They know how to avoid common mistakes and make sure your lights work well and look great.
Professionals handle wiring and ceiling work safely.
They check your electrical system to make sure it can handle new lights.
They finish the job quickly and clean up after themselves.
You save time and avoid stress when you let an expert take care of your lighting.
Safety and Code Compliance
Safety is a big reason to choose a pro. Licensed electricians follow strict rules and codes. They know the latest safety standards, like NEC and NFPA 70. This means your home stays safe from fire and electrical problems. Professionals also handle permits and inspections. They keep records and make sure everything passes the first time.
Pros use lockout/tagout steps to keep everyone safe.
They test things like GFCI and AFCI to prevent shocks and fires.
They keep your project on track by working with inspectors and following all rules.
A professional’s careful work can lower accident rates by up to 87%. You get peace of mind knowing your lights are safe and legal.
Design and Placement Expertise
Lighting design is more than just picking spots for lights. Experts think about how you use each room. They plan for the right mix of brightness, color, and style. Professionals know how to avoid glare and dark corners. They use the best fixture types and placement to make your space look its best.
The right design can highlight art, make rooms feel bigger, and save energy. Experts use LED lights that last longer and use less power. They also help you choose the best color temperature for each area.
Warranty and Support
When you hire a pro, you get more than just a finished job. Most professionals offer warranties on their work. If something goes wrong, you can call them for help. They also give you tips on how to care for your new lights. This support keeps your Down Lighting Installation working well for years.
Tip: Professional installation is the best choice for large or complex projects. You get expert planning, safety, and long-term support.
DIY vs. Professional Comparison
Cost
DIY seems cheaper at first. You buy lights and tools yourself. You do not pay for labor. Most people spend less money right away. But there are extra costs you might not see. If you mess up, you may need to pay someone to fix it. Fixing a DIY mistake costs about $188 on average. Professionals cost more at the start. Their price usually comes with a warranty and support. If something breaks, you do not pay more.
Here’s a quick look at how costs compare:
Feature | DIY Installation | Professional Installation |
|---|---|---|
Upfront Cost | Lower | Higher |
Cost to Fix Mistakes | $188 (average) | Included in service/warranty |
Warranty | Limited or none | Often included |
Tip: DIY can save money if you feel sure about your skills. If you want less worry, hiring a pro may be worth it.
Safety
Safety is very important. If you do Down Lighting Installation yourself, you take all the risks. You must turn off the power and use the right tools. You also need to follow safety rules. Many people skip steps or miss things. This can cause shocks, fires, or damage. Professionals know all the safety codes. They use lockout/tagout steps and test everything. They make sure your home follows all the rules. Their work can lower accidents by up to 87%.
DIY: You do all the safety steps. Mistakes can be risky.
Professional: Experts follow codes and keep your home safe.
Note: If you are not sure about wiring or safety, call a professional.
Quality
Quality can be very different for DIY and professional jobs. If you have experience, you might do a good job. But many people make mistakes. Some common mistakes are bad placement, skipping manuals, or using the wrong stuff. About 25% of DIYers put lights at the wrong angle. Professionals give better results. They use energy-saving materials and follow best steps. Their work looks neater and lasts longer.
Here’s a table to show the differences:
Aspect | DIY Installation | Professional Installation |
|---|---|---|
Building Code Compliance | Often less consistent adherence | Generally ensures full compliance |
Energy Efficiency | May use less optimal materials or methods | Uses energy-efficient materials and techniques |
Durability | Potentially lower due to inexperience | Higher durability with expert installation |
Workmanship Quality | Variable, depends on skill | Consistently higher quality and precision |
Aesthetics | May have imperfections | Better finish and appearance |
Long-term Maintenance | Possibly higher due to installation flaws | Lower due to proper installation and sealing |
If you want your lights to look great and last, a professional can help.
Time
Time matters too. DIY projects usually take longer. You spend hours planning, shopping, and learning how to install. Mistakes can slow you down even more. Professionals work faster. They know what to do and bring the right tools. Most jobs finish quicker and with fewer problems.
DIY: More time spent learning and fixing mistakes.
Professional: Fast, efficient, and less trouble for you.
Ask yourself: Do you want to spend your weekend working on Down Lighting Installation, or let someone else do it?
Choosing the Right Approach
Assessing Your Skills
Start by thinking about your own skills. Have you worked with electrical projects before? Do you feel comfortable using tools and reading instructions? If you know how to turn off breakers, use a voltage tester, and follow safety steps, you might be ready for a simple Down Lighting Installation. If you feel unsure or have never done electrical work, it’s safer to get help. You want your lights to work well and keep your home safe.
Tip: The Quality Implementation Framework and Active Implementation Framework both show that planning and preparation are key. These frameworks help you match your skills to the project, so you can choose the best way to install your lights.
Project Complexity
Not all lighting projects are the same. Some are easy, while others are tricky. You can use a project complexity index to help decide. Think about these things:
How big is your project? (One room or the whole house?)
How long will it take?
Do you need new wiring or just a quick swap?
Are there special rules or permits needed?
Is your ceiling high or hard to reach?
If your project is small, clear, and uses simple tools, you might handle it yourself. If you see lots of steps, unclear plans, or special rules, a professional can help.
Budget Factors
Money matters, too. Here’s a simple way to look at your budget:
Write down what you want to do.
Check if you need permits or special tools.
Look up prices for lights, tools, and any help you might need.
Compare the cost of doing it yourself with hiring a pro.
Break down each part of the job to spot hidden costs.
This helps you see if you can save money or if hiring a pro is worth it for peace of mind.
When to Hire a Pro
Sometimes, calling a professional is the best choice. Here are some signs:
You need new wiring or have an old electrical system.
You want to make sure your home insurance stays valid.
You need permits or inspections.
You want a perfect look or have a big project.
You want help with design or have special lighting needs.
Professionals know how to keep your home safe, follow codes, and make your Down Lighting Installation last. They also save you time and fix problems fast.
You have two clear paths for lighting upgrades. DIY gives you control and can save money, but mistakes may risk your safety or health. Professionals bring skill, follow codes, and help you avoid problems like glare or poor sleep from bad lighting. Good lighting design can even make your home feel safer and more welcoming. Think about your skills, your budget, and what matters most to you. Ready to start? Check local guides or talk to an expert for your next steps.
FAQ
How do I know if my ceiling can support down lights?
You can check your ceiling type first. Most drywall ceilings work well. If you have concrete or plaster, you might need special tools. When in doubt, ask a pro for advice.
Can I install down lights without turning off the power?
No, you should never do that. Always turn off the power at the breaker before you start. Use a voltage tester to double-check. Safety comes first every time.
What if my lights flicker after installation?
Flickering usually means a loose wire or a bad connection. Double-check your wiring. Make sure all connections are tight. If the problem stays, call an electrician.
Do I need a permit for down lighting installation?
Some places require a permit, especially for new wiring. Check your local rules before you start. If you hire a pro, they usually handle permits for you.
How many down lights do I need for my room?
It depends on your room size and how bright you want it. A good rule is one light for every 4 to 6 square feet. You can use an online calculator for a quick estimate.
See Also
Understanding Recessed Lighting Types And Installation Tips
How To Properly Install LED Downlight Fixtures
Exterior LED Lighting Benefits Types And Installation Guide
Expert Flood Lighting Design And Installation For Properties
