How to Hang LED Strip Lights

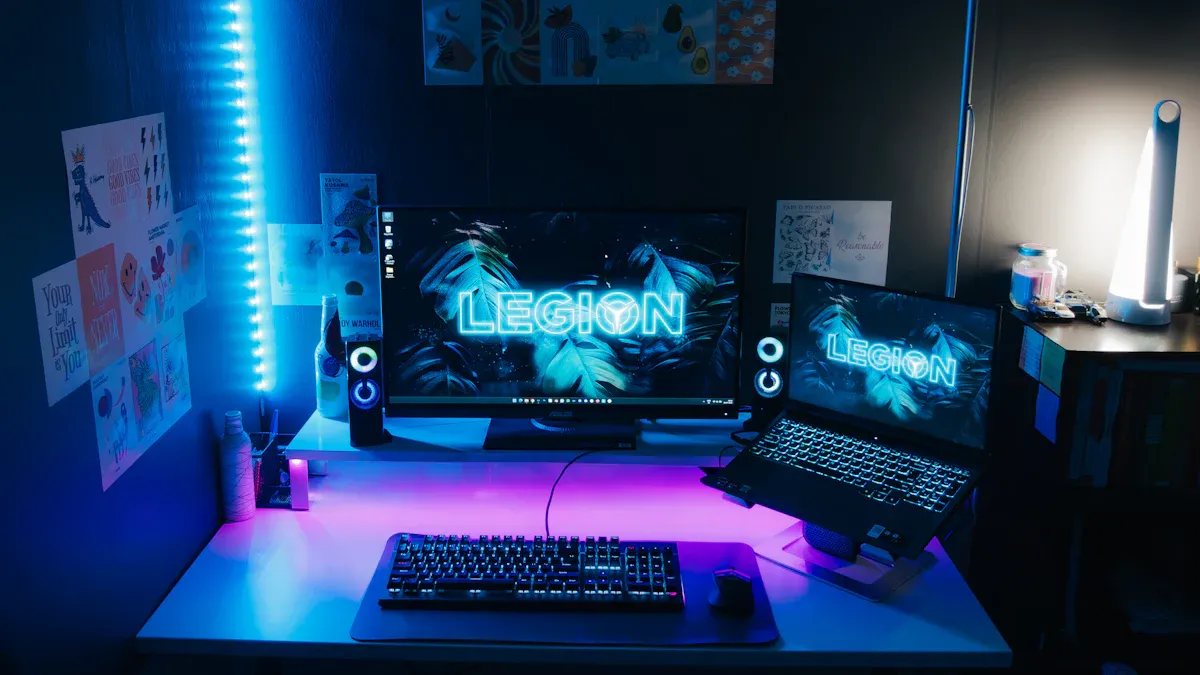
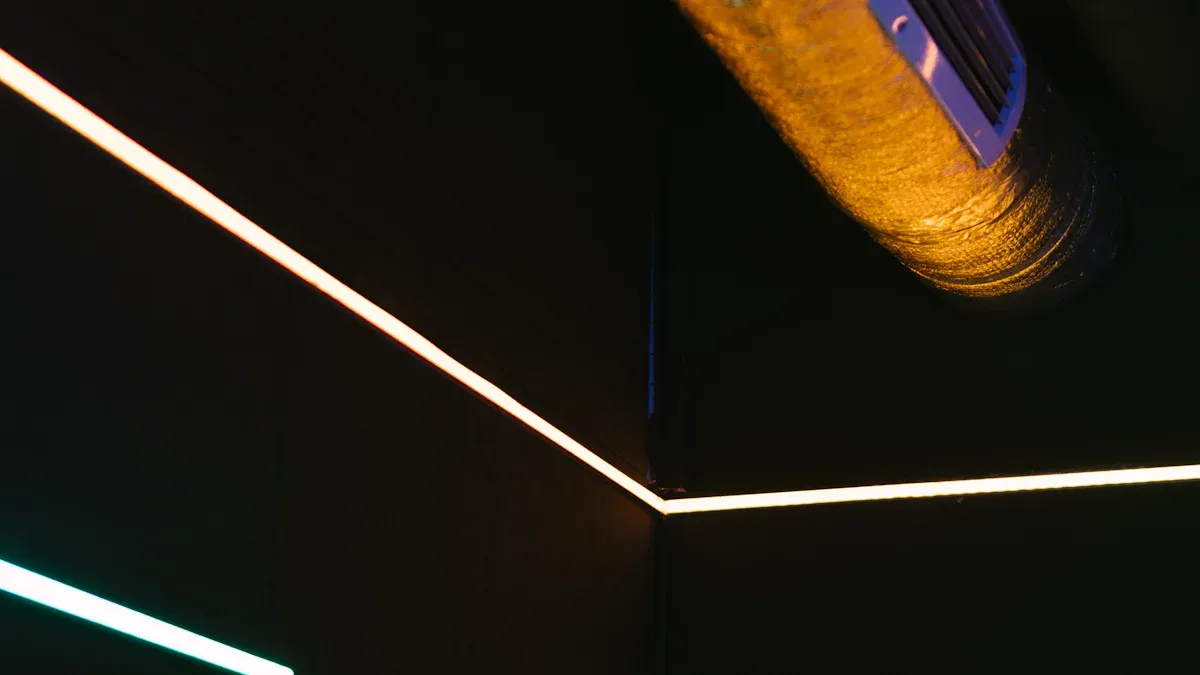
You want to hang led strip lights in your Home, right? Start with clean walls and the right tools to avoid damage and get a strong hold. Hang led strip lights easily by peeling and sticking them. Hang led strip lights for energy savings—LEDs use at least 75% less energy than old bulbs. Hang led strip lights for a greener space because they are non-toxic and 100% recyclable. Hang led strip lights and enjoy bright, safe lighting. For more details, check the About Us and Product sections.
Key Takeaways
Get important tools like adhesive tape, measuring tape, and scissors before you begin. Make sure you have everything you need. Clean the wall very well so the LED strip lights will stick better and stay on longer. Use the peel and stick way to put up the lights easily. You can use clips for more support in places where people walk a lot.
Gather Tools and Prep for Hanging LED Strip Lights
Essential Tools and Materials
Before you start, grab everything you need for a smooth setup. Here’s a handy list:
led strip lights (your main lighting source)
Adhesive backing or double-sided tape for sticking the strips to the wall
Measuring tape to check lengths and distances
Sharp scissors or a knife for cutting strips to size
Clean sponge or paper towels for wiping the wall
Aluminum channels to protect the strips and help them last longer
Mounting clips for extra support, especially in tricky spots
Extra adhesive strips in case you need more grip
Power supply to light up your led strip lights
Straight-edge ruler for straight lines
Cable ties to keep wires neat
Mounting putty as another way to stick strips
Plastic phone opener tool for careful adjustments
Ladder if you need to reach high places
Tip: Aluminum channels help your led strip lights stay cool and safe, especially in busy areas.
Clean and Prep the Wall
You want your led strip lights to stick well and stay put. Start by cleaning the wall with a damp sponge or paper towel. Make sure the surface is dry and free of dust. Some surfaces work better than others. Check this table before you begin:
Surface Type | Compatibility with LED Strip Adhesives |
|---|---|
Wallpaper | Not compatible (prone to tearing) |
Matte/Artistic Paint Walls | Not compatible (poor adhesion) |
Exposed Wood or Bare Cement Walls | Not compatible (poor adhesion) |
Overheated or Humid Areas | Not compatible (adhesive may peel) |
Neutral/Removable Adhesive Layer | Recommended if necessary for installation |
Plan the Layout and Measure
Planning helps you avoid mistakes. Follow these steps:
Pick the area you want to light up with led strip lights.
Use your measuring tape to check the length and width.
Decide how high you want to place the strips.
Space out your led strip lights evenly for smooth lighting.
Draw your design or mark the wall so you know where everything goes.
Pro tip: Hide your led strip lights behind furniture or inside channels for a clean look. Use mounting clips to keep them straight and avoid drooping.
How to Install LED Strip Lights on Wall

You have your tools ready and your wall prepped. Now it’s time to learn how to install led strip lights on wall. This part will walk you through each step, from sticking the strips to powering them up. You’ll also get tips for corners, safety, and keeping your lights shining bright.
Peel and Stick Installation
The peel and stick method is the easiest way to install led strip lights on wall. Here’s how you do it:
Peel off a small section of the adhesive backing from your led strip lights.
Press the strip gently onto the wall, starting at your marked spot.
Work slowly. Peel a little more backing as you go, pressing the strip down every few inches.
Use a straight-edge ruler to keep your line neat.
If you need to cut the strip, use sharp scissors at the marked cut points.
Most people finish this peel and stick method in about one to two hours. It’s quick and simple, even if you’re new to how to install led strip lights on wall.
Keep in mind, not all adhesives are the same. Some low-quality adhesives can lose their grip, especially if the room gets hot. If you notice your led strip lights falling off, try extra adhesive strips or switch to a better brand.
Using Clips and Channels
If you want a stronger hold or plan to install led strip lights on wall in busy areas, clips and channels work great. Here’s a quick look at the pros and cons:
Mounting Method | Advantages | Disadvantages |
|---|---|---|
Clips and Channels | Secure, protects strips, good for outdoors | Needs drilling, takes more time |
Adhesive Tape | Fast, no tools, cheap | May not last, can damage paint when removed |
To use clips and channels:
Snap the led strip lights into the aluminum channel.
Attach the channel to the wall with mounting clips or screws.
For corners, use corner connectors or flexible channels.
Tip: Channels help your led strip lights stay cool and safe. They also make your setup look neat.
Bending Around Corners
Corners can be tricky when you install led strip lights on wall. You want smooth light, not broken lines. Here are some ways to bend your strips safely:
Technique | Description |
|---|---|
90° Fold | Fold the strip gently at a right angle for a clean corner. |
90° Pinch | Pinch the flex between LEDs into a peak, then secure with a drop of glue. |
Curve | Make small accordion folds for gradual turns, gluing each fold in place. |
Be careful not to bend too sharply. Sharp bends can break the copper inside, causing dead spots or flickering. Always keep the bend gentle—about three times the width of the strip. For tight corners, use flexible connectors.
Risk | Description | Mitigation |
|---|---|---|
Circuit Damage | Broken copper can cause dead sections. | Keep bends gentle and use connectors. |
Reduced Light Output | Sharp bends can make light uneven. | Use flexible connectors for sharp turns. |
Moisture Risks | Cracks can let in moisture and cause problems. | Check for stress marks after bending. |
Connect and Power Up
You’re almost done with how to install led strip lights on wall. Now, connect your strips and power them up:
Match the voltage of your led strip lights to the power supply.
Use quality connectors for each segment.
Keep strip segments short to avoid voltage drop.
Place power supplies close to the strips for even brightness.
Use a multimeter to check voltage if you see dim spots.
For long runs, add amplifiers to keep the light strong.
Safety first! Always turn off the power before you connect anything. Make sure your power supply is strong enough—add 20% more than your strip needs. Double-check the wire polarity and insulate any bare wires. Use the right wire size to prevent overheating. For big setups, install a fuse for extra protection.
After you install led strip lights on wall, check all your connections. If you see flickering or some sections don’t light up, look for loose wires or a weak power supply. Try a different power supply if needed. If nothing works, you may need to replace a part.
Here’s a quick troubleshooting checklist:
Look for flickering, color changes, or dead spots.
Check all connections for loose wires or corrosion.
Test the power supply to make sure it works.
Try the remote or app if you use one.
Replace any faulty parts if needed.
Maintenance Tips
You want your led strip lights to last a long time. Here’s how to keep them in top shape:
Turn off the power before cleaning.
Wipe the strips gently with a soft cloth or sponge.
Use a mild cleaner for tough spots.
Rinse and dry the area before turning the power back on.
Check and tighten connections every few months.
Regular cleaning and quick checks help your led strip lights shine bright and last longer.
If you ever wonder how to install led strip lights on wall like a pro, remember these steps. Take your time, follow the safety tips, and enjoy your new lighting!
You can hang LED strip lights like a pro if you follow these steps:
Gather your tools and supplies.
Clean and prep the wall.
Measure, cut, and stick the strips.
Connect to power and check everything.
Double-check your measurements and surface prep for the best results. Regular cleaning and quick checks keep your lights bright. You’ve got this—enjoy your new lighting and show off your DIY skills!
FAQ
Can you reuse LED strip lights after removing them?
You can reuse them if the adhesive stays sticky. If not, try new double-sided tape or mounting clips for a fresh hold.
What should you do if your LED strip lights keep falling off?
Clean the wall again. Try stronger adhesive or use mounting clips. Make sure the surface is dry and smooth before sticking.
Is it safe to cut LED strip lights?
Yes, you can cut them at marked points. Use sharp scissors. Never cut through the copper lines or LEDs.
See Also
Comprehensive Instructions for Installing High Bay LED Fixtures
Guide to Installing LED Downlights in Your Space
Designing Eye-Catching Channel Letters Using LED Strip Lighting

