Step-by-Step Guide to LED Conversion for Energy-Efficient Lighting

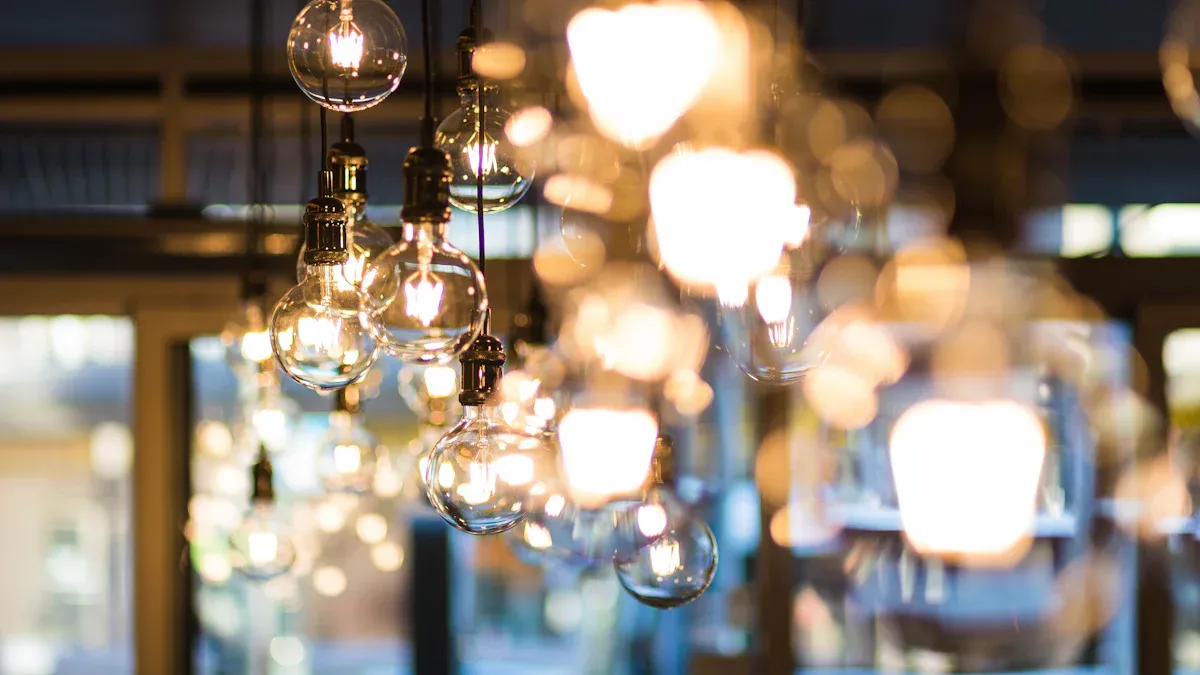
Ready to save money and brighten your Home? With LED Conversion, you can cut lighting costs and help the planet at the same time. Check out these quick facts:
LEDs now light up 48% of homes.
A Led Light uses up to 90% less energy than old bulbs.
LEDs turn 95% of energy into light, not heat.
Scenario | Annual Savings |
|---|---|
Household with 40 bulbs | Up to $400 |
Switching to the right Product is simple and rewarding. You’ll wonder why you waited! Learn more About Us and join the LED revolution.
Key Takeaways
Switching to LED lighting can help you save money. You can save up to 90% on energy costs compared to old bulbs. This means you keep more money for other things.
LEDs last much longer than regular bulbs. They can work for about 25,000 hours. You will not need to change them as often.
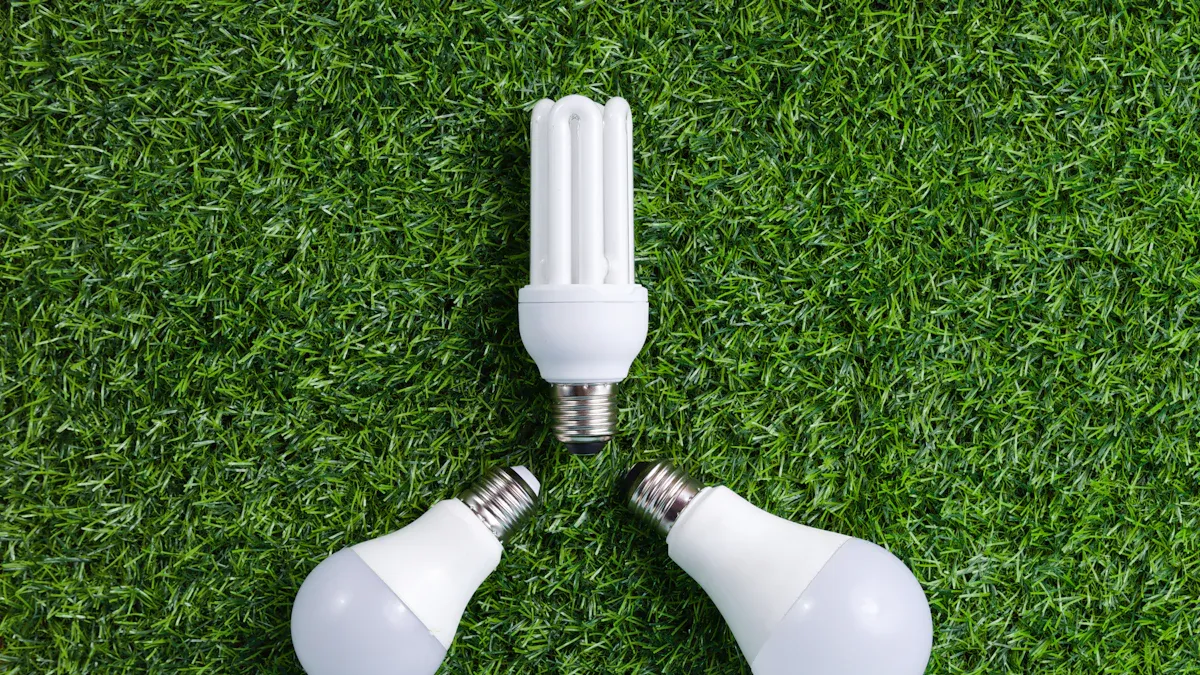
Using LEDs is good for the environment. They lower carbon emissions and do not use harmful chemicals. This helps make your home greener.
Before you switch, check your current lighting fixtures. Make sure they work with LED bulbs. This will help you change to LEDs easily.
Think about special features like dimmable options and smart controls. These can make your lighting better and save even more energy.
Benefits of LED Lighting
Energy Savings
You want to save money on your electric bill, right? LED Conversion makes that possible. LEDs use much less power than old bulbs. Take a look at this table to see how different bulbs compare:
Bulb Type | Power Consumption (Watts) | Annual Energy Use (kWh) | Annual Cost ($) | Lifespan (Approx.) |
|---|---|---|---|---|
Incandescent | 100 | 876 | 131.40 | 1 month |
CFL | 25 | 216 | 32.40 | 6 months |
LED | 16 | 140 | 21.00 | 1 year |
LEDs use up to 90% less energy than incandescent bulbs. You can see the savings add up fast. When you switch to LED Conversion, you keep more money in your pocket every year.
Longevity
Tired of changing bulbs all the time? LEDs last much longer than other types. Here’s a quick look at how long each bulb type lasts:
Bulb Type | Average Lifespan (hours) |
|---|---|
LED | 25,000 |
CFL | 8,000 |
Incandescent | 1,500 |
You could go years without replacing an LED bulb. That means less hassle for you and fewer trips to the store. LEDs also keep their brightness longer, so your rooms stay well-lit.
Environmental Impact
LED Conversion helps the planet, too. You lower your carbon footprint every time you flip the switch. Here are some ways LEDs make a difference:
LEDs use less electricity, which means power plants produce less CO₂.
If every home in the U.S. swapped just one bulb for an LED, greenhouse gas emissions would drop by 9 million pounds each year.
LEDs don’t contain mercury or other harmful chemicals, so they’re safer to dispose of.
Tip: Choosing LEDs means you help protect the environment while saving money and time.
Assess Lighting
You should know what lights you have before starting LED Conversion. Look at your lights closely so you do not get surprised later. This makes changing to LEDs much easier.
Inventory Fixtures
Take a notebook or your phone with you. Walk into every room in your house. Write down what you see about each light fixture. Here are some things to note:
Count how many fixtures are in each room.
Write down how many bulbs are in each fixture.
Note the type of bulbs and ballasts, like fluorescent or incandescent.
Record how many hours the lights are on each day.
Write down the fixture voltage and how high it is mounted.
Check if the fixtures are dirty, broken, or have burned-out bulbs.
Look for special things, like emergency ballasts or wire guards.
Notice the ceiling type and the size of the room.
Think about what people do in the room, like reading or cooking.
Write down if the fixture has a special shape or design.
Tip: Writing these things down helps you choose the best LED products. It also helps you plan how much money you will need.
Check Compatibility
Now, see if your fixtures can use LED bulbs. You want to make sure the bulbs fit and work safely. Use this table to help you check:
Factor | Description |
|---|---|
Socket Type | Does the LED bulb fit the socket? |
Wattage Ratings | Is the LED bulb’s wattage safe for the fixture? |
Fixture Design | Will the bulb fit without bumping into anything? |
Enclosed Fixtures | Is the fixture closed? LEDs need to stay cool. |
Electrical System | Does the bulb work with your wiring? |
You should also look at the bulb’s shape and color temperature. Do not mix old bulbs with LEDs unless you ask an expert. If your fixture is recessed or closed, pick LEDs made for those places.
Special Features
Some fixtures have extra features. You might see motion sensors or smart controls. Some let you change how bright the light is. Here are some things to look for:
Motion sensors are good for hallways or bathrooms.
Some lights let you change how bright they are or spread light wide.
Some have energy-saving features for eco-friendly homes.
Smart controls let you set schedules or turn lights on from far away.
Picking LEDs with these extras can make your lights smarter. You get better lighting, save more energy, and your home feels more modern.
LED Options
Bulb Types
You have lots of choices when it comes to LED bulbs. Each type works best in different places around your home. Take a look at this table to see how they compare:
Type of LED Bulb | Characteristics |
|---|---|
Omnidirectional LED Bulbs | Spread light over a wide area, great for general lighting. |
Dimmable Globe LED Bulbs | Can dim from bright to soft, perfect for living rooms and bedrooms. |
Track Lighting | Fits track systems, stays cool, ideal for accent lighting. |
Flood Reflector LEDs | Works well in recessed fixtures, some models are dimmable. |
Flame Tip, Candelabra Base LEDs | Adds style to chandeliers and decorative fixtures, saves energy. |
If you want an easy upgrade, try LED conversion kits or retrofit kits. These kits help you swap out old bulbs and parts without changing the whole fixture. You can also look for ENERGY STAR rated products. These bulbs meet strict standards for quality and efficiency, so you know you’re getting the best.
Tip: ENERGY STAR LEDs last longer, use less energy, and contain zero mercury. That means safer lighting for your family.
Color Temperature
Color temperature changes how your room feels. Warm LEDs make spaces cozy, while cool LEDs help you focus. Here’s how you can use color temperature in your home:
Warm LEDs (2700K–3000K): Great for living rooms and bedrooms. They create a relaxing vibe.
Neutral LEDs (3400K–4000K): Good for bathrooms and kitchens. They give a clean, bright look.
Cool LEDs (3000K–5000K): Perfect for home offices or study areas. They help you concentrate and see details.
Daylight LEDs: Best for tasks that need sharp vision, like crafts or garage work.
Want to highlight art or special features? Use warm LEDs for accent lighting. You can match LEDs to high-efficiency fixtures and smart controls for even more savings.
Dimmable Features
Dimmable LEDs let you control brightness. You can set the mood or save energy. Before you buy, check these things:
Aspect | Details |
|---|---|
Dimmer Rated Wattage | Make sure your dimmer can handle the total wattage of your LEDs |
Minimum Load for Dimmer | Your LEDs must meet the minimum load to work right |
Dimmable vs Non-Dimmable | Only use bulbs labeled as dimmable |
Dimmer Type | Some dimmers work better with LEDs (trailing-edge is best) |
Always check if your dimmer switch matches your LED bulbs.
Add up the wattage of all bulbs on one dimmer to avoid flickering.
Dimming and motion sensors help you use less energy and keep rooms comfortable.
LED Conversion gets even better when you pair LEDs with smart controls. You can set schedules, adjust brightness, and lower your energy bills. You get great lighting and save money at the same time.
LED Conversion Steps
Choose Products
You want your lighting project to shine, so start by picking the right LED products. Think about what you want to achieve. Do you need brighter rooms, longer-lasting bulbs, or lower bills? Make a list of your goals. Here’s how you can choose the best options:
Define your project criteria. Decide on light levels, warranty length, budget, product lifetime, and how quickly you want to see savings.
Check product specifications. Look for LEDs that meet industry standards and fit your fixtures.
Set your priorities. Some people care most about energy savings, while others want less maintenance or better lighting performance.
Example: If you run a small shop, you might want bulbs that last longer and cut down on maintenance. If you have a big warehouse, saving energy could be your top goal.
LED Conversion kits make things easier. These kits include bulbs, drivers, and mounting hardware for different fixture types. You can find kits for recessed lights, track lighting, or even outdoor fixtures. Look for ENERGY STAR rated products for top quality and efficiency.
Prepare Installation
Before you start swapping bulbs, get ready for a safe installation. Safety comes first. Here’s what you should check:
Inspect fixtures for cracks or exposed wires.
Make sure the LED device matches the size and voltage of your fixture.
Keep fixtures out of reach of kids and pets.
For outdoor lights, choose weatherproof LEDs with a high IP rating.
Check that the power supply is easy to access.
Confirm the operating temperature to prevent fire hazards.
Always turn off the power before you touch any bulbs.
If you plan to install LED strips or retrofit kits, check the wire rating. Use wire rated for in-wall installation, like FT4, to avoid fire risks. Calculate voltage drop for low voltage DC lighting. Feed power to both ends of long LED strips to keep brightness even and safe.
Tip: Double-check everything before you begin. A few minutes now can save you hours later.
Remove Old Bulbs
Ready to take out those old bulbs? Follow these steps to stay safe:
Turn off the power. Flip the switch or shut off the breaker.
Let halogen bulbs cool down. Hot bulbs can burn your fingers.
Remove the old bulb gently. Twist counter-clockwise or pull out, depending on the type.
If the bulb is stuck, tap it lightly to loosen. For tricky fixtures, take off any covers first.
Dispose of old bulbs properly. Some bulbs, like CFLs, contain hazardous materials.
Handle bulbs with care. Broken glass can cause injuries. Always keep your workspace clean.
Install LEDs
Now it’s time for the fun part—installing your new LEDs. Here’s a step-by-step guide:
Turn off the power at the breaker box.
Remove any trim pieces or covers from the fixture.
Detach wiring connectors if you’re replacing the whole fixture.
Unbox your LED bulb or fixture. Read the instructions.
Make sure the LED fits the socket. Insert and screw it in until snug.
For new fixtures, attach the mounting bracket to the ceiling or wall. Keep it level.
Connect the wires. Match hot to hot, neutral to neutral. Use wire nuts to secure and insulate.
Attach the fixture according to the manufacturer’s guidelines.
Turn the power back on.
LED Conversion works for almost any fixture. You can use bulbs, retrofit kits, or full fixture replacements. LEDs convert 80-90% of energy into light, so you get bright rooms without the heat. Old bulbs waste energy as heat, but LEDs keep things cool and efficient.
Note: Always focus on lumens, not wattage, when matching brightness. For example, a 40-watt bulb gives off about 300 to 600 lumens. Pick an LED with similar lumens for the same light level.
Test Lighting
You’ve installed your LEDs. Now, test your lighting to make sure everything looks and works right. Here’s how you can check:
Use a light meter to measure brightness. Compare the lumens to your old bulbs.
Check color temperature. Warm light feels cozy, cool light helps you focus.
Make sure the light spreads evenly in the room.
Test dimmers and smart controls if you have them.
Look for flickering or buzzing. If you see problems, check compatibility or wiring.
Measurement Technique | Description |
|---|---|
Lumens | Measures the total amount of visible light emitted by a source, allowing comparison of brightness. |
Color Temperature (Kelvin) | Indicates whether the light appears warm, neutral, or cool, affecting visibility and aesthetics. |
Light Meter | Quantifies luminous output in lumens or lux, providing an objective measure of brightness. |
If you want to get technical, you can use a spectroradiometer to check color rendering. Most people just look at the room and see if it feels right. If you need more light, try a higher lumen LED. If it’s too bright, use a dimmer or switch to a lower lumen bulb.
Tip: LED Conversion gives you control over your lighting. You can adjust brightness, color, and even schedules with smart controls.
Troubleshooting
Even with careful planning, you might run into a few bumps during your LED Conversion. Don’t worry—most problems have simple fixes. Here’s how you can solve the most common issues.
Flickering
Flickering lights can be annoying. You might see your new LEDs blink or flash. This usually happens for a few reasons:
Voltage changes in your home’s wiring can make LEDs flicker.
Old or incompatible dimmer switches often cause problems.
Loose connections or poor wiring can interrupt the power flow.
Low-quality LED drivers may not control the power well.
Too many lights on one circuit can overload it.
Extreme temperatures or aging bulbs can also lead to flickering.
To fix flickering, try these steps:
Check the power supply for steady voltage.
Inspect all wiring and tighten any loose connections.
Upgrade to a dimmer switch made for LEDs.
Replace the LED driver with a better one if needed.
Reduce the number of lights on the same circuit.
Choose high-quality LED bulbs for better performance.
Tip: If flickering continues, ask an electrician to check your system.
Dimming Issues
Sometimes, your LEDs won’t dim smoothly or they flicker when you try to lower the brightness. Here’s what might cause this:
Using an old dimmer switch that doesn’t work with LEDs.
Installing bulbs that aren’t made for dimming.
Low-quality drivers inside the bulb.
Voltage drops or power supply problems.
Faulty or worn-out switches.
You can solve dimming issues by:
Upgrading to a dimmer switch designed for LEDs.
Making sure your bulbs are labeled as dimmable.
Adjusting the minimum dimming level on your switch.
Checking all wiring for secure connections.
Replacing old switches or bulbs with new, high-quality ones.
Note: Always match your dimmer and bulbs for the best results.
Fit Problems
Sometimes, LED bulbs just don’t fit right. You might find the bulb is too big, too small, or doesn’t work well in your fixture. Here’s how to avoid fit problems:
Check the shape and size of the LED bulb before you buy.
Make sure the bulb fits inside enclosed or recessed fixtures.
Pick bulbs that can handle the heat in closed spaces.
Don’t mix old bulbs with LEDs unless a pro says it’s safe.
Match the bulb type to the fixture’s needs.
If you double-check these things, you’ll get a perfect fit every time.
Callout: A little planning goes a long way. The right bulb makes your LED Conversion smooth and easy.
You’ve seen how LED Conversion brings big wins for your home. Here’s what you get:
Lower energy bills and less hassle with bulbs that last up to 25,000 hours.
Brighter, more reliable lighting that makes every room look great.
Smart features for easy control and comfort.
Just follow these steps: pick the right kit, check your dimmers, and keep things clean. Want more tips? Check out these helpful resources:
Resource Title | Description |
|---|---|
Energy-Efficient LED Lighting Solutions | Find cost-effective LED options and save on maintenance. |
How LED Lighting Upgrades Save Money and Improve Aesthetics | Learn how upgrades boost savings and style. |
Start your project today and enjoy a brighter, greener home!
FAQ
How do I know which LED bulb fits my fixture?
Check the socket type and shape. Look at the old bulb’s base and match it with the LED packaging. If you’re unsure, snap a photo and ask at the store.
Can I use LED bulbs with my old dimmer switch?
Most old dimmers don’t work well with LEDs. You need a dimmer made for LED bulbs. Look for “LED compatible” on the dimmer box. If you see flickering, swap the switch.
Do LEDs work outdoors?
Yes, you can use LEDs outside. Pick bulbs labeled “outdoor” or “weatherproof.” These bulbs handle rain and heat. Always check the IP rating for extra protection.
What should I do with my old bulbs?
Don’t toss them in the trash. CFLs and fluorescent bulbs need recycling because they have chemicals. Take them to a recycling center or hardware store.
Why do my new LEDs flicker sometimes?
Flickering happens when the power supply isn’t steady or the dimmer isn’t compatible. Try tightening connections or switching to a better dimmer. If the problem stays, choose higher-quality bulbs.
See Also
Your Guide to Switching Fluorescent Tubes for LED Lights
Transforming Your Space: Replacing Fluorescent Tubes with LEDs
How to Install High Bay LED Lights: A Detailed Guide
