Recessed LED Wall Lighting: How to Install Integrated Fixtures for a Clean, Modern Look

Ready to give your Home a sleek upgrade? With Recessed LED Wall Lighting, you can create a modern vibe that looks amazing. Careful planning helps you choose the right Product and Led Light for your space. Mud-in LED profiles blend seamlessly into your wall, leaving no gaps. You don’t need to worry—this guide keeps things safe and easy. About Us: We want you to feel confident at every step.
Key Takeaways
Recessed LED wall lights fit inside walls or ceilings. They make your room look neat and modern. They do not use up extra space.
LED lights use less energy and last longer than old bulbs. You can add dimmers or smart controls for more comfort. These features also help you save money.
Plan your lighting by looking at what your room needs. Space the fixtures evenly and mark the spots with care. This helps you avoid shadows and keeps the room balanced.
Pick the right size and style for your fixture. Think about mud-in LED profiles for a smooth, built-in look. These blend in with your walls.
Follow safety rules when you install the lights. Finish the drywall with care. Take care of your lights often so they work well and look nice.
Recessed LED Wall Lighting Overview

What Is Recessed LED Wall Lighting
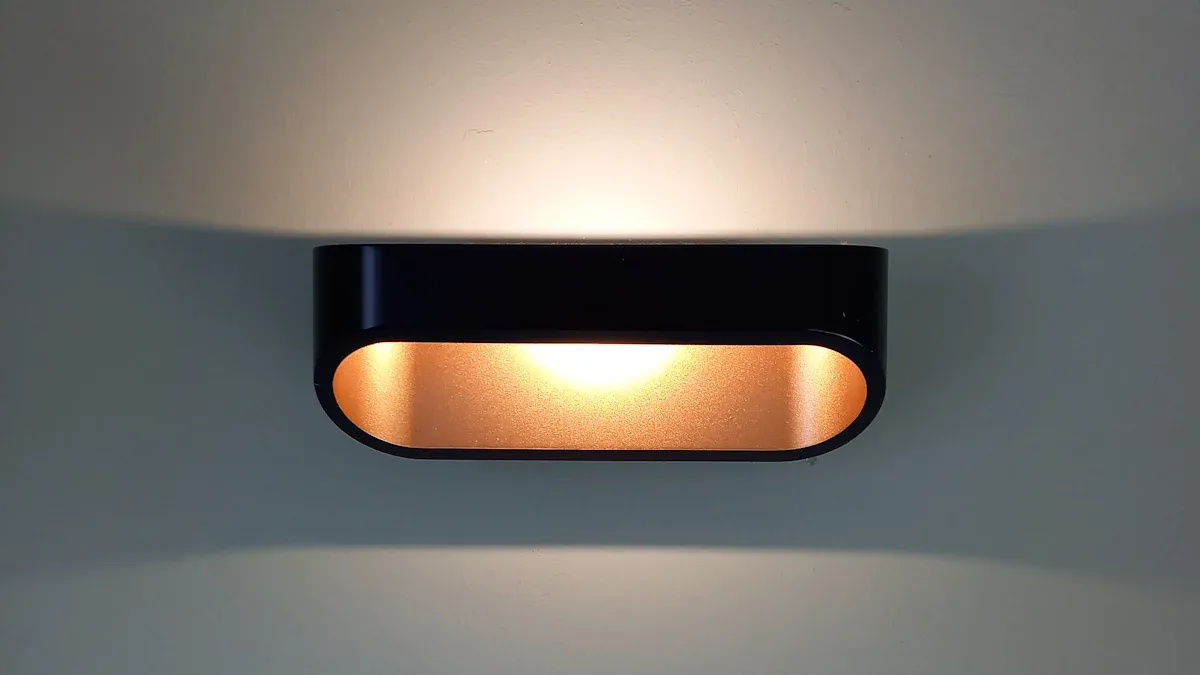
You might wonder what makes Recessed LED Wall Lighting different from regular wall lights. These fixtures sit inside your wall or ceiling, so you only see the light, not the fixture. The light source hides within the surface, giving your room a clean and modern look.
Here’s how it compares to traditional wall lighting:
Recessed LED Wall Lighting gets installed into the wall or ceiling, so it blends in and does not stick out.
Traditional wall lights, like sconces, mount on the wall and take up space.
Recessed fixtures need a bit more work to install because you have to cut into the wall or ceiling.
You can find recessed lighting trims in many styles, including adjustable and moisture-resistant options.
These lights do not take up wall space, so you have more freedom to arrange your furniture or art.
Benefits and Modern Appeal
Recessed LED Wall Lighting brings lots of perks to your home. You save energy because LED bulbs use much less power than old-fashioned bulbs. For example, a 10-watt LED can replace a 60-watt incandescent bulb. That means you use about 83% less energy! LEDs also last much longer, so you won’t need to change bulbs as often.
You can add dimmers or smart controls to adjust the brightness and save even more energy.
Tip: LEDs turn most of their energy into light, not heat, so your room stays cooler.
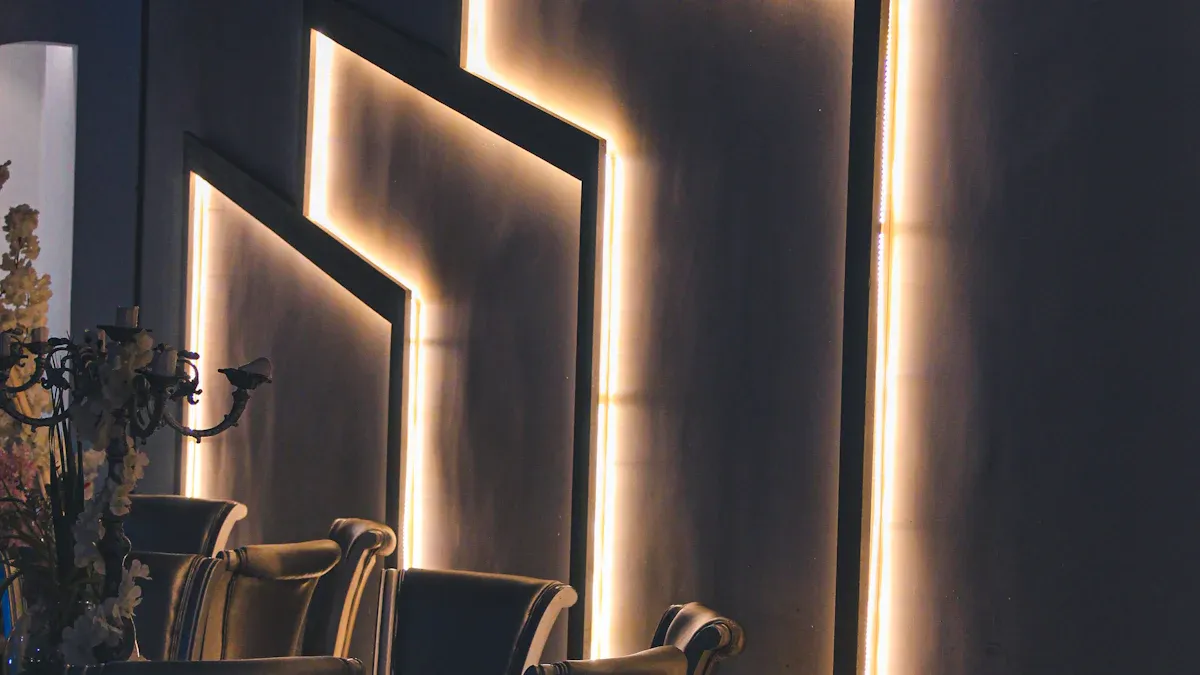
Design trends love these lights for their simple, clean lines. They fit right into the wall, so your space looks uncluttered and modern. You can pick from different shapes, sizes, and light patterns to match your style. These lights work well in small rooms because they do not take up extra space.
Common Applications
You can use Recessed LED Wall Lighting in many places around your home:
Hallways and staircases for safe, gentle lighting
Living rooms to highlight art or create a cozy mood
Bedrooms for soft, relaxing light
Bathrooms with moisture-resistant trims
Home theaters for a sleek, cinema feel
Offices or workspaces for focused, glare-free light
These lights also work great with smart home systems. You can control them with your phone, set timers, or even change the color to match your mood. No matter your style, these fixtures help you create a space that feels fresh and up-to-date.
Planning and Layout
Room Assessment
Start by looking at your room with fresh eyes. Think about what you do in this space. Do you need bright light for cooking or homework? Or do you want a softer glow for relaxing? Check how much natural light comes in during the day. Notice if there are dark corners or spots that need extra light.
Here’s a simple checklist to guide you:
Decide the main purpose of the room.
Look at the size and shape of the space.
Check your current decor and wall colors.
Notice where sunlight enters and how it changes during the day.
Think about how you want the room to feel—cozy, bright, or focused.
Tip: Warmer light feels cozy in bedrooms, while cooler light helps you focus in offices or kitchens.
Fixture Placement
Now, let’s figure out where to put your lights. Good placement makes your room look balanced and bright. You want to avoid shadows and dark spots. Place your fixtures about half the ceiling height apart. For example, if your ceiling is 8 feet high, space your lights about 4 feet apart. Keep each fixture about 3 feet from the wall to prevent harsh shadows.
Use more lights for bigger rooms or if you want a brighter look.
Mix different types of lighting, like accent and task lights, for the best effect.
Make sure your fixtures match the style of your room.
If you plan to use dimmers or smart controls, you can adjust the brightness to fit any mood.
Measuring and Marking
Grab a tape measure and a pencil. Sketch your room on paper first. Mark where you want each light to go. Double-check your measurements so everything lines up.
Here’s a quick way to get started:
Measure the length and width of your room.
Mark fixture spots on your sketch, using the spacing rules above.
Use painter’s tape on the wall to see how the layout will look in real life.
Check for any studs, pipes, or wires behind the wall before you cut.
Note: Careful planning now saves you time and trouble later. A good layout means your lights will look even and professional.
Choosing Fixtures
Fixture Types and Sizes
You have lots of choices when it comes to recessed LED wall fixtures. Picking the right type and size helps you get the look and brightness you want. Here are some popular options:
4-inch and 6-inch fixtures work well in most homes. They give you a good mix of style and light.
Smaller sizes, like 2-inch or 3-inch, fit tight spaces or highlight special spots.
Larger fixtures, such as 6-inch or 8-inch, brighten up big rooms.
You can pick from baffle trim (reduces glare), open trim (simple and bright), eyeball trim (lets you aim the light), or adjustable gimbal lights (move the light where you need it).
Slim or canless fixtures fit in low ceilings and look extra sleek.
Most LED fixtures use only 10 to 25 watts, so you save energy and money.
Tip: Try mixing different sizes and trims for a layered lighting effect.
Mud-In LED Profiles
Mud-in LED profiles help you get that smooth, built-in look. These profiles hide the light source and blend right into your wall or ceiling. You won’t see any edges or trims—just a clean line of light. Here’s why many people love them:
They make your wall look smooth and modern.
You can match the profile size and color to your room.
The profile acts as a heat sink, so your LEDs last longer.
Light spreads out evenly, with no bright spots or shadows.
You get a professional finish that looks like it came with the house.
Note: Mud-in profiles work great if you want your lighting to feel like part of the architecture.
Color Temperature and Features
Color temperature changes how your room feels. You can pick from warm to cool tones, depending on what you like and what the room needs.
Warm light (2700K to 3000K) feels soft and cozy. It works well in bedrooms and living rooms.
Cool light (up to 4000K) feels bright and crisp. It helps you focus in offices or bathrooms.
Accent lighting often uses cooler tones to make art or features stand out.
Changing the color temperature can shift the mood from relaxing to energizing.
Some fixtures let you adjust the color or dim the lights. This gives you even more control over your space.
Installation Steps

Tools and Safety
Before you start, gather all your tools and safety gear. You want to work smart and stay safe. Here’s what you’ll need:
Screwdriver set
Wire stripper and cutter
Tape measure
Pencil or chalk for marking
Stud finder
Gloves, protective eyewear, and a dust mask
You also need some materials:
Recessed LED wall fixtures (IC-rated if you have insulation)
LED bulbs that fit your fixtures
14/2 nonmetallic (NM) electrical cable
Junction box (if needed)
Wire nuts and electrical tape
Tip: Always turn off the power at the breaker before you touch any wires. Double-check with a voltage tester. Safety first!
Cutting Openings
Now, let’s get your wall ready for the new lights. Use your stud finder to check for studs, pipes, or wires behind the wall. Mark the spot for each fixture with a pencil. Make sure your marks match your plan from earlier.
Follow these steps:
Trace the template that comes with your fixture on the wall.
Put on your safety gear.
Use a drywall saw to cut along the lines. Go slow and steady.
Remove the cut piece and check inside for any hidden wires or pipes.
If you find anything unexpected, stop and figure out a new spot. Never cut through wires or pipes.
Wiring and Mounting
Wiring is the heart of your Recessed LED Wall Lighting project. You want to do this part right. Most homes use 14/2 NM cable for lighting. This cable has one black (hot), one white (neutral), and one bare copper (ground) wire.
Here’s a simple guide:
Run the 14/2 NM cable from your power source to each opening.
If you need a junction box, mount it in an easy-to-reach spot.
Strip about 3/4 inch of insulation from each wire.
Connect black to black, white to white, and ground to ground using wire nuts.
Wrap connections with electrical tape for extra safety.
Tuck the wires into the box or fixture housing.
Mount the fixture in the opening. Follow the manufacturer’s instructions.
Note: Always follow local electrical codes. Inspectors may check your work at different stages. Use IC-rated fixtures if your wall has insulation. These fixtures can touch insulation safely and help prevent air leaks.
Here’s a quick look at some important code requirements:
Requirement Aspect | Key Details |
|---|---|
Fixture Rating | Use IC-rated, airtight fixtures for insulated walls. |
Air Sealing | Seal fixtures with a gasket or caulk to stop air leaks. |
Clearance | Keep non-IC fixtures at least ½ inch from anything that can burn. |
Inspection | Inspectors may check framing, wiring, and sealing before you close up the wall. |
Drywall Finishing
You want your Recessed LED Wall Lighting to look like it’s part of the wall. That means a smooth finish. Here’s how you do it:
Fit the mud-in LED profile into the opening. Make sure it sits flush with the drywall.
Use joint compound (drywall mud) to cover the edges of the profile.
Feather the mud out with a wide drywall knife so it blends into the wall.
Let the mud dry completely.
Sand the area smooth with fine-grit sandpaper.
Repeat mudding and sanding if you see any bumps or gaps.
Tip: Take your time with mudding and sanding. A smooth finish makes your lighting look professional and modern.
Once you finish, your wall will look seamless. The light will glow from the wall itself, giving your room that clean, modern style you want.
Finishing and Maintenance
Sealing and Painting
You want your new lights to look like they belong in your wall. After you finish sanding the drywall mud, check for any small gaps or rough spots around the fixture. Use a high-quality caulk to seal these edges. This step keeps dust out and helps the light blend into the wall. Let the caulk dry before you move on.
Now, grab your favorite paint. Use a small brush or roller to cover the area around the fixture. Try to match the wall color as closely as possible. Paint right up to the edge of the mud-in profile for a flawless finish. If you see any uneven spots, add another thin coat. Take your time—this is what makes your lighting look truly built-in.
Tip: Use painter’s tape to protect the fixture lens while painting. Remove the tape before the paint dries for a crisp edge.
Testing and Troubleshooting
Once the paint dries, it’s time to test your lights. Follow these steps to make sure everything works:
Turn the power back on at the breaker.
Flip the light switch and watch each fixture. Make sure every light turns on and shines evenly.
Walk around the room. Look for any dark spots or flickering.
If a light doesn’t work, check the wiring and make sure the fixture sits tight in the wall.
For flickering, check if your dimmer switch works with LEDs. Replace it if needed.
Tighten any loose wires in the junction box.
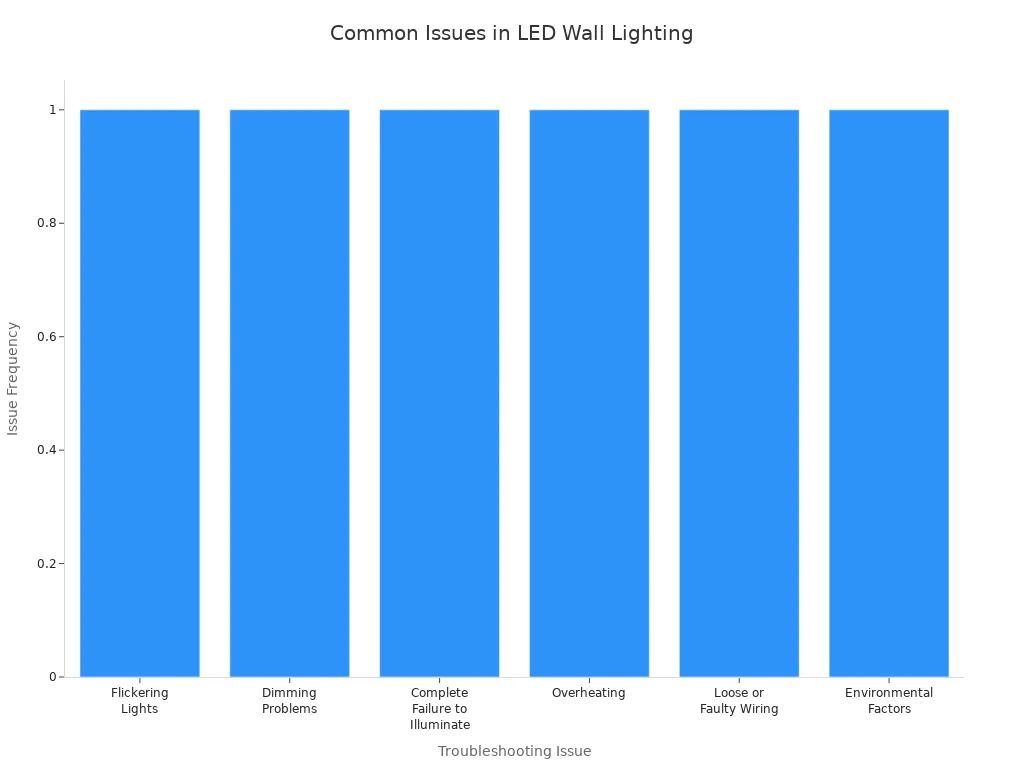
Sometimes, you might run into common problems. Here’s a quick table to help you out:
Issue | Cause | Solution |
|---|---|---|
Light won’t turn on | Loose bulb, bad wiring, tripped breaker | Check bulb, wiring, and breaker |
Flickering or buzzing | Bad dimmer, loose wires, cheap bulbs | Use LED dimmer, tighten wires, upgrade bulb |
Overheating | Poor airflow, wrong bulb type | Use proper bulbs, check ventilation |

Note: If you can’t fix a problem, call a licensed electrician for help.
Maintenance Tips
Keeping your lights in top shape is easy if you follow a few simple steps:
Always turn off the power before cleaning or fixing anything.
Wipe the fixture with a soft cloth to remove dust. Use a mild cleaner for tough spots.
Check the wiring and connections every few months. Tighten any loose wires.
Make sure the area around the fixture stays clean and dry.
Look at the LED driver and make sure it has good airflow to prevent overheating.
Schedule regular checks, especially if you notice flickering or dimming.
If you need to upgrade or remove a fixture, be careful not to damage the wall. Mud-in profiles can be tricky to take out, so you might want a pro for big changes.
Tip: Choose fixtures with a good warranty and keep your receipts. High-quality LEDs last longer and save you money over time.
You can achieve a clean, modern look with Recessed LED Wall Lighting by planning your layout, picking the right fixtures, and following each step carefully. Good planning helps you avoid shadows and keeps your space bright. Always follow safety rules and local codes for the best results. If you feel unsure about wiring or code requirements, call a pro. Take pride in your work—your new lighting will make your room shine!
FAQ
Can I install recessed LED wall lights without professional help?
You can handle this project if you feel comfortable with basic tools and wiring. Always turn off the power first. If you feel unsure about electrical work, call a licensed electrician for safety.
Do I need special drywall for mud-in LED profiles?
No, you can use standard drywall. Just make sure the surface is clean and smooth before you start. This helps the mud-in profile blend in for a seamless look.
How do I choose the right color temperature for my room?
Think about how you want the room to feel. Warm light (2700K–3000K) feels cozy. Cool light (4000K) feels bright and crisp. Try samples if you feel unsure.
What if I want to upgrade or remove the fixtures later?
Mud-in profiles can be tricky to remove. You might need to patch and repaint the wall. If you plan to upgrade often, choose fixtures that are easy to access and replace.
See Also
How To Properly Install LED Downlight Fixtures
Exploring Recessed Lighting Types And Installation Tips
Enhancing Recessed Ceilings With Effective Lighting Solutions

