Recessed Light Calculator Guide: Accurately Planning Your Lighting Layout for Optimal Illumination

A recessed light calculator helps you figure out how many lights you need. It also helps you decide where to put them for the best lighting in your home. You can change your plan fast and stop dark spots or wasted power. Good measurements make your lights look even and nice. Many people have problems like uneven lighting, glare, or dark corners. You can fix these problems with a recessed light calculator. It helps you pick the right spot for each fixture and choose the best Led Light. Use this tool to make your room feel cozy and welcoming. About Us and Product pages often suggest using calculators so you can make good choices.
Common lighting problems the calculator helps you fix:
Uneven lighting
Glare from shiny surfaces
Wrong color temperatures
Shadows in corners
Not enough task lighting
Too few or too many lights
Bad placement
Overloading circuits
Unbalanced lighting
Key Takeaways
A recessed light calculator shows you how many lights you need. It also helps you know where to put the lights for good brightness in any room.
You must measure your room carefully. Use a tape measure or a phone app to get the right size. This helps your lights work well.
Follow spacing rules for your lights. Divide the ceiling height by two. This stops dark spots and keeps the light even.
Pick the best fixtures and bulbs for your room. Match the color temperature to what the room is used for. This gives the best feel.
Look at your lighting plan before you start. Check your measurements again. Think about using dimmers to change the light when you want.
What Is a Recessed Light Calculator

Purpose and Benefits
A recessed lighting calculator makes it easy to plan your room’s lighting. You do not need to guess where each light should go. This tool gives you a clear idea of how many lights you need and where to put them. You can use it for general lighting or for lighting up work areas. The calculator works in places like living rooms, kitchens, and offices. It helps you avoid mistakes like having some spots too dark or too bright.
Here is a quick look at what a lighting layout calculator does:
Aspect | Description |
|---|---|
Definition | A tool used to figure out the best place and space for general lighting in a room. |
Usage | Users pick the layout, type in room size, and find out where to put lights for both general and work lighting. |
When you use a lighting layout calculator, you save time and make fewer mistakes. Planning by hand takes longer and can lead to errors. The calculator gives you steps to follow. You get a plan that fits your room’s size and what you use it for. This makes your lighting plan work better and look nicer.
Tip: An indoor lighting layout tool helps you make your room bright and comfy. You can also use an outdoor lighting layout tool for your patio or garden.
How It Works
First, you type in your room’s size into the lighting layout calculator. The tool asks for things like how long, wide, and tall your room is. Sometimes you also need to add the room’s edge length and how much space is inside. Next, you pick how bright you want the room to be. This changes depending on what the room is for. For example, an office might need 300-500 lux.
You also add details about the fixture, like what kind of lamp it is, how wide the light spreads, and how well it works. The calculator uses something called a maintenance factor to show how much light you lose over time. This number is usually between 0.7 and 0.9. After you put in all the information, the calculator tells you:
How many fixtures you need
The best space between each light
The best spot for every fixture
Lighting layout tools like these make planning easy and correct. You can use a lighting calculator for any room in your house. This helps you make your space bright and welcoming.
Using a Recessed Lighting Calculator
Measuring Room Dimensions
You need accurate measurements before you start planning your recessed lighting. Good measurements help you avoid mistakes and make your lighting layout look even. You can use several tools to measure your room:
Certified tape measures give you reliable and consistent measurements.
Laser distance meters help you get quick and precise readings, even across large rooms.
Digital angle finders and levels check if your walls and ceilings are straight.
Smartphone apps with AR measuring features, like RoomScan Pro or Magicplan, let you draft floor plans quickly.
CAD or BIM software turns your measurements into detailed plans or 3D models.
A Floor Plan Symbol Guide helps you read contractor drawings and site notes.
Start by measuring the length, width, and height of your room. Write these numbers down. Check that your walls and ceiling are straight. If you use a smartphone app, you can save your measurements and use them later. Accurate measurements make your recessed lighting plan work better.
Tip: Double-check your numbers before you move to the next step. Small mistakes can lead to uneven lighting or misplaced recessed lights.
Drawing Your Lighting Layout
You should draw a quick sketch of your room before you use a recessed lighting calculator. This sketch helps you see where you want to put each light. Follow these steps to create a good lighting layout:
Understand your goal. Decide what you want your recessed lighting to do. Do you want to light up the whole room or just certain areas?
Start with a sketch. Use graph paper to draw your room. This helps you keep everything to scale.
Avoid creating shadowy corners. Make sure your design does not leave any dark spots.
Determine the best layout for your room. Use a spacing formula to make sure your recessed lights give even light.
You do not need to be an artist. A simple drawing helps you plan your lighting layout and makes it easier to use the calculator. Mark windows, doors, and furniture on your sketch. This helps you see where you need more or less light.
Note: A quick sketch saves time and helps you spot problems before you install your recessed lighting.
Inputting Data and Reviewing Results
Now you can use your measurements and sketch to fill in the recessed lighting calculator. You need to enter the right data for the best results. Most calculators ask for:
Room size (length, width, and sometimes height)
Ceiling height
Desired foot candles (how bright you want the room)
Layout configurations (how you want to arrange your recessed lights)
Type in your numbers carefully. The calculator will show you how many recessed lights you need and where to put them. Review the results and compare them to your sketch. Make sure the suggested layout matches your needs. If something looks wrong, check your measurements and try again.
Tip: Take your time when you input data. A small mistake can change your whole lighting layout.
You can adjust the settings in the calculator to see how different layouts look. Try changing the number of recessed lights or the spacing to find the best plan for your room. This step helps you get the most out of your recessed lighting and makes your space bright and comfortable.
Lighting Layout Guidelines
Fixture Spacing Rules
You need to follow clear rules for fixture spacing when you plan your recessed lighting. Proper spacing helps you avoid dark spots and bright patches. You can use a simple rule: divide your ceiling height by two. For example, if your ceiling is 8 feet high, you should space your recessed lighting fixtures about 4 feet apart. This method gives you balanced light across the room.
Divide ceiling height by two to find the best distance between fixtures.
For an 8-foot ceiling, space fixtures 4 feet apart.
This spacing prevents harsh shadows and keeps your lighting even.
You should always check your lighting layout to make sure you have proper spacing. If you use too many fixtures, your room can look crowded and too bright. If you use too few, you will see dark corners. The right spacing guidelines help you create an optimal recessed lighting layout that fits your lighting requirements.
Tip: Use a tape measure or laser tool to mark fixture spots on your ceiling before you start installation. This step helps you see if your recessed lighting arrangement will work.
Wall Distance and Placement
The distance from the wall to your first recessed light matters a lot. You want to avoid scalloping, which means uneven light patterns on your walls. You should keep your recessed lights about 3 feet away from the walls. This distance helps you get smooth, even lighting on every surface.
Place the first fixture about 3 feet from the wall.
Keep the distance between each light at about half the ceiling height.
This method gives you balanced light and avoids shadows.
You should also remember the rule: the distance between fixtures should be twice the distance from the wall to the first fixture. For example, if your first light is 3 feet from the wall, space the next one 6 feet away. This rule helps you get a good lighting layout plan and makes your room look bright and welcoming.
Note: Mark windows, doors, and large furniture on your plan. This step helps you adjust your placement and spacing for the best results.
Adjusting for Ceiling Height
Ceiling height changes how you plan your recessed lighting. Higher ceilings need more powerful lights or closer spacing. Lower ceilings need fewer fixtures and wider spacing. You should always check your lighting requirements before you start.
For standard 8-foot ceilings, use the divide-by-two rule for proper spacing.
For higher ceilings, reduce the distance between fixtures or use brighter bulbs.
For lower ceilings, increase the distance between fixtures to avoid glare.
The purpose of your room also affects your optimal recessed lighting layout. Kitchens and workspaces need more light and closer spacing. Living rooms and bedrooms need softer light and wider spacing. You should match your recessed lighting arrangement to the room’s use for the best results.
Tip: Test your lighting layout with temporary fixtures before final installation. This step helps you see if your strategic placing of recessed lighting meets your needs.
You can create a balanced and effective lighting layout by following these guidelines. Proper spacing, smart placement, and attention to ceiling height will help you achieve the best results for any room.
Choosing Recessed Lighting Fixtures
Fixture Size and Type
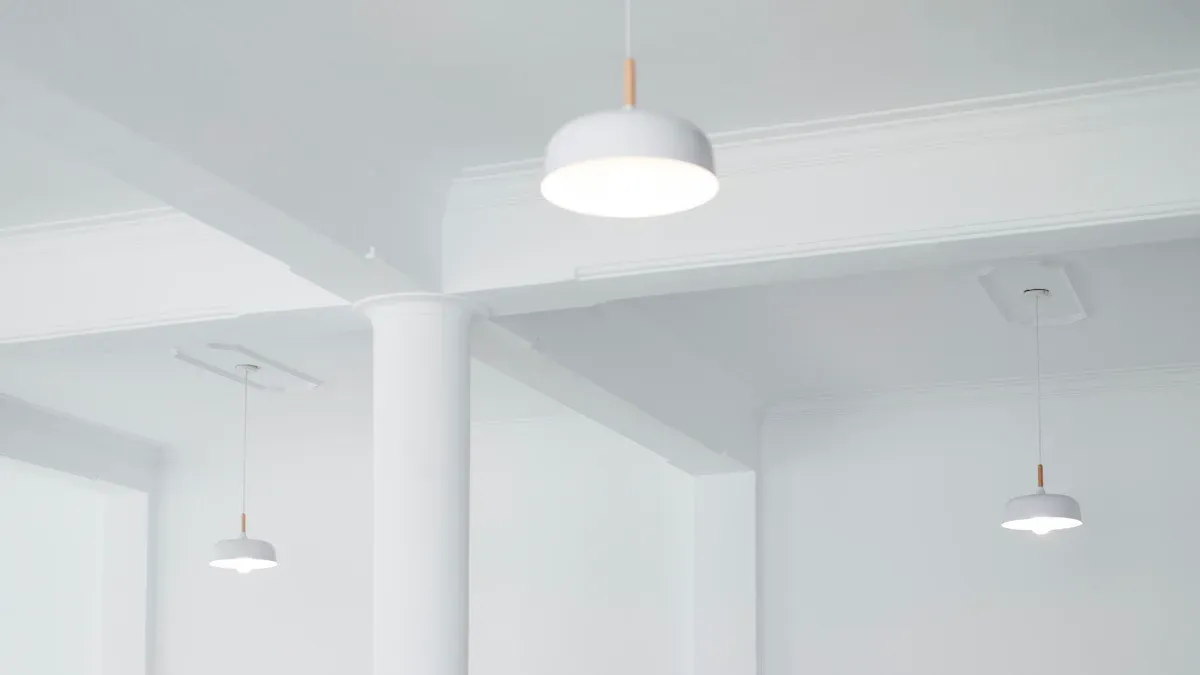
You need to pick the right size and type of fixture. The size of recessed led downlights changes how much light you get. It also changes how your room looks. Most homes use 4-inch or 6-inch recessed led downlights. Small sizes are good for accent lighting or small spaces. Big recessed led downlights give more light and fit large rooms. You can choose fixed or adjustable recessed led downlights. Fixed types shine light straight down. Adjustable types let you aim the light where you want. This helps you match your recessed lighting design to what you need.
Tip: Adjustable recessed led downlights are great for art or reading. Fixed recessed led downlights are best for general lighting.
Bulb Selection and Color Temperature
The bulb you pick for your recessed led downlights changes how your room feels. You can choose different color temperatures. Each one makes a different mood and helps with certain jobs.
Warm color temperatures (2,700K to 3,000K) make rooms feel cozy and show warm colors.
Cool color temperatures (3,500K to 4,000K) help you see better in kitchens and bathrooms.
Warm lights help you relax. Cool lights help you focus and feel awake.
Match the bulb and color temperature to what the room is for. Use warm recessed led downlights in bedrooms and living rooms. Use cool recessed led downlights in work areas.
Energy Efficiency
You can save energy and money by picking the right recessed led downlights. Many new choices use less power and last longer. Look for features that help you save energy and make your lighting better.
Feature | Description |
|---|---|
ENERGY STAR Certified | Products that meet strict energy rules set by the EPA. |
Retrofit Kits | Upgrade old downlights without changing the whole fixture, saving energy and money. |
Canless Fixture Kits | Makes installation easier by removing the need for old housings. |
Dimming Capabilities | Many kits can dim, so you can change the light level. |
Light Color Options | Comes in many color temperatures, from warm amber to daylight, making rooms look nice. |
Pick recessed led downlights with ENERGY STAR labels to save the most. Retrofit kits let you update old recessed lights without big changes. Canless kits are easy to install and use less space. Dimmable recessed led downlights let you control your lighting and save more energy.
Creating Your Lighting Plan for Each Room
Living Room Lighting Plan
You want your living room to be bright and cozy. First, measure the length, width, and height of the room. Split the room into different zones, like where you sit or read. Use recessed lighting to light up each zone. Add floor lamps or wall sconces for more light. Keep recessed lights 4 to 6 feet apart. If your ceiling is high or you have big windows, you might need more lights. Think about what you do in the living room. Reading, watching TV, and having friends over need different light levels.
Measure your room well.
Split the room into zones for activities.
Use recessed lighting with other lights.
Keep lights 4 to 6 feet apart.
Change the number of lights for ceiling height and windows.
Kitchen Lighting Plan
Your kitchen needs bright light for work and soft light for the rest. Use recessed fixtures for general light. Put task lights above counters and the stove. Add accent lights to show off cabinets or shelves. The table below shows how each type of lighting helps:
Lighting Type | Function |
|---|---|
Ambient Lighting | Makes the kitchen bright for cooking and talking. |
Task Lighting | Lights up counters and the stove for safety and work. |
Accent Lighting | Adds soft light to show off features and make the kitchen look nice. |
Hang a bright pendant over the island.
Put LED strips under cabinets.
Keep recessed lights 30-36 inches from counters for best results.
Bedroom Lighting Plan
You want your bedroom to feel calm and restful. Use recessed lighting for general light. Put fixtures around the bed and closet. Pick warm bulbs to make the room cozy. Add table lamps for reading. Space the lights far apart so the light is not too harsh. If your ceiling is high, you may need more recessed lights.
Use warm bulbs for comfort.
Put recessed lights near the bed and closet.
Add lamps for reading.
Space lights to stop glare.
Bathroom Lighting Plan
Safety is very important in the bathroom. Pick recessed fixtures made for wet or damp places. Use GFCI protection for all outlets and lights. Follow NEC rules for space between fixtures and insulation. Put wet-rated recessed lights near showers or tubs. Pick IC-rated fixtures if they touch insulation.
Use wet-rated recessed lights near water.
Install GFCI protection.
Follow safety rules for spacing and insulation.
Pick IC-rated fixtures for ceilings with insulation.
Hallway and Entryway Lighting Plan
Hallways and entryways need even light for safety. Use recessed lighting to make the whole space bright. Space the fixtures evenly along the hallway. Put the first light about 3 feet from the wall. Add accent lights near art or mirrors. Use more fixtures for longer or wider hallways.
Space recessed lights evenly.
Put the first light 3 feet from the wall.
Add accent lights for decoration.
Change the number of lights for hallway size.
Tip: Always match your lighting plan to what each room needs. This helps you make your home safe and comfortable.
Common Mistakes in Recessed Lighting
Overcrowding or Insufficient Lighting
Some people think more lights make rooms brighter. But too many recessed fixtures can make a space feel harsh. Not enough lighting leaves some areas dark and hard to use. If you do not have enough light, your eyes may hurt. You might feel tired or get headaches. It can be hard to focus in poor lighting. Many workers say their workspace has bad lighting. Good lighting helps you stay alert and safe.
Not enough lighting can hurt your eyes and posture.
You may feel tired if you keep adjusting to light changes.
Bad lighting can lower productivity and make injuries more likely.
68% of employees say workplace lighting is a problem.
80% of workers think good lighting is important at work.
Poor lighting can cause headaches and make you feel tired. These problems make it hard to use a room and enjoy your time.
Ignoring Shadows and Glare
You should watch out for shadows and glare when planning recessed lighting. Shadows can hide corners and make rooms look uneven. Glare from shiny surfaces can hurt your eyes and make it hard to see. If fixtures are too close to walls or shiny things, you may see bright spots or dark patches. Always check your plan to avoid these problems. Move fixtures away from shiny surfaces and spread them out for even light.
Tip: Try your lighting plan with temporary fixtures before installing. This helps you find shadows and glare early.
Forgetting Dimmers and Controls
You can make recessed lighting better by adding dimmers and controls. Dimmable LED lights let you change how bright the room is. This gives you more choices for your lighting design. You can save energy by lowering the light when you do not need it bright. Dimmers help you set different moods for each activity. Smart dimming works with smart home systems and makes lighting easy to control.
Dimmable LED lights let you change brightness for any activity.
Lowering light saves energy and helps fixtures last longer.
You can make different moods in rooms you use for many things.
Smart dimming systems give you automated and energy-saving options.
Note: Always add dimmers and controls to your lighting plan for the best results.
Final Checks Before Installation
Reviewing Your Lighting Plan
Before you start, you need to make sure your plan is accurate and effective. Follow these steps to review your plan:
Think about what you want from each space. Decide if you need bright light for work or a soft glow for relaxing.
Look at the room’s shape and features. Check where windows let in natural light and where shadows might fall.
Draw a clear sketch of your room. Mark where you want each fixture.
Choose the right types of fixtures and decide how you will place them. Make sure they work well with any natural light.
Plan for controls like dimmers or smart switches. These give you more ways to use your lights.
Pick energy-saving options. LED fixtures and daylight sensors help you save power.
Tip: Double-check your sketch and notes. A careful review now can prevent problems later.
Consulting Professionals
You may need help from a lighting professional for tricky projects or complex layouts. A professional can make sure your installation follows all electrical codes. They also help you get the best look and function for your home. If your plan feels too hard or you want a perfect finish, an expert can guide you. They know how to solve problems and make your space look its best.
Preparing for Installation
Get ready by gathering the right tools, materials, and safety gear. Here is a checklist to help you prepare:
Tools Needed:
Electrical tester
Drill with hole saw
Screwdrivers
Wire stripper/cutter
Tape measure
Pencil or chalk
Stud finder
Materials Needed:
Recessed fixtures (IC-rated for insulated ceilings)
LED bulbs
Electrical cables (14/2 NM cable)
Junction box (if needed)
Wire nuts
Electrical tape
Ceiling patch (optional)
Safety Gear:
Gloves
Protective eyewear
Dust mask
Note: Always turn off the power before you start any electrical work. Safety comes first.
When you use a recessed light calculator, you can plan your lighting easily. This tool helps you not make mistakes. It also helps you get the right amount of light in every room.
Follow these rules to get good results and save energy.
Use these steps and the calculator for your next lighting job.
FAQ
How do I know how many recessed lights I need?
You can use a recessed light calculator. Enter your room’s size and ceiling height. The calculator will show you the right number of fixtures for even lighting.
Can I use recessed lights in any room?
Yes, you can use recessed lights in most rooms. Choose wet-rated fixtures for bathrooms or areas near water. Always check the fixture’s rating before installing.
What is the best spacing for recessed lights?
Divide your ceiling height by two. This number gives you the best distance between each light. For example, use 4 feet between lights for an 8-foot ceiling.
Do I need a professional to install recessed lighting?
You can install recessed lights yourself if you have electrical experience. If you feel unsure, hire a licensed electrician. Safety always comes first.
Tip: Always turn off the power before starting any electrical work.
See Also
Exploring Recessed Lighting: Styles, Setup, And Design Tips
Enhancing Recessed Ceilings: Effective Lighting For Architectural Beauty
Selecting Outdoor Flood Lights: Brightness And Coverage Essentials
Ultimate LED Area Light Guide: Types, Uses, And Setup Tips
Track LED Lighting Systems: Installation And Design Insights
