Step-by-Step Guide to Installing High Bay LED Lights

Installing high bay lights the right way keeps things safe and ensures that the lights work their best. If installed incorrectly, problems like electrical issues or poor lighting can occur, which might make your space less functional. By doing it properly, you avoid these issues and maximize the benefits of the lights.
High bay LED lights are energy-efficient and have a long lifespan. They are ideal for large areas such as gyms or warehouses. New LED lights consume 75% less energy than traditional bulbs, helping businesses save money and reduce power usage. Additionally, solar lights, particularly solar-powered high bay lights for outdoor use, are even more beneficial for the environment.
Key Takeaways
High bay LED lights use less energy and last longer. They can cut energy bills by up to 75%.
Safety is very important when installing. Always wear safety gear and turn off power before touching wires.
Pick the right way to hang the lights for your space. You can use hooks, chains, or attach them to a surface.
Putting lights in the right spot and height helps you see better. Use a wattage-height chart to get the best lighting.
Clean and check the lights often to keep them bright. This also helps them last longer.
Understanding High Bay Lights
What Are High Bay Lights
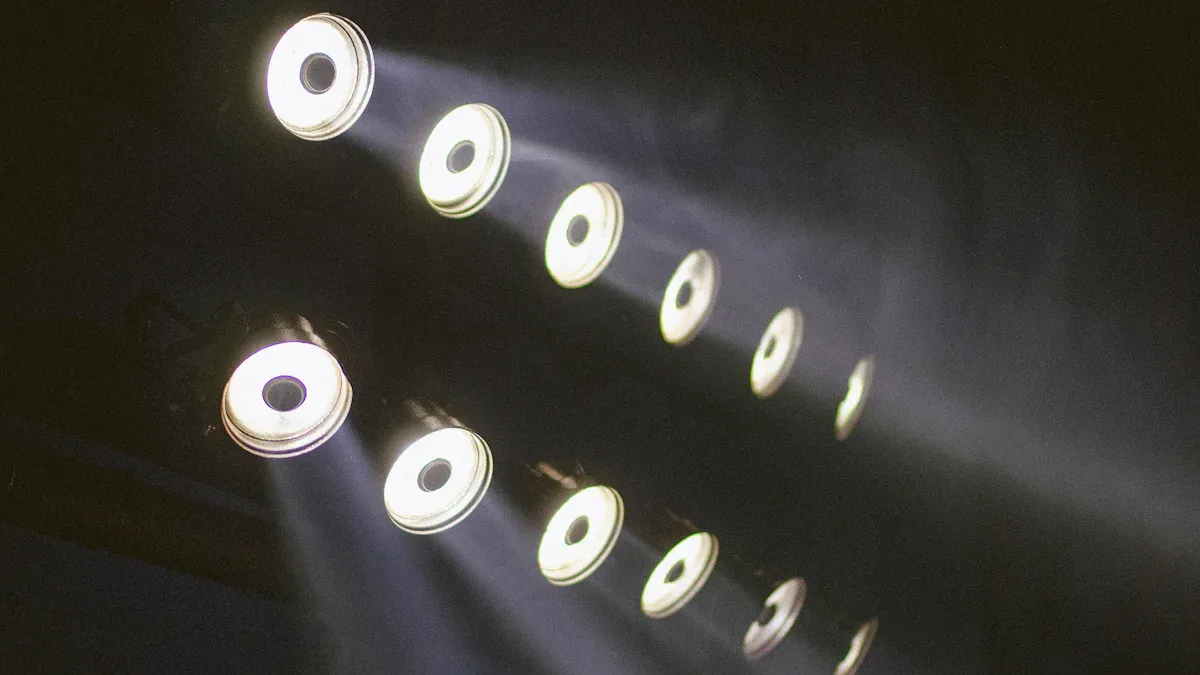
High bay lights are strong lights made for tall ceilings. These ceilings are usually 20 to 40 feet high. The lights shine brightly and evenly, perfect for big spaces. Unlike regular lights, they spread light without leaving dark spots or shadows.
High bay LED lights have special features that make them unique:
Built-in LED parts reduce heat and save energy.
They work well with different voltages and don’t flicker.
Safe materials mean no harmful UV or IR rays.
These lights are very energy-efficient. They use less power than older metal halide lights but are just as bright. With power options from 100 to 500 watts, they fit many needs. They also last over 50,000 hours, so you won’t replace them often.
Common Applications of High Bay Lights
High bay lights are used where bright, steady light is needed. Warehouses, gyms, and factories are common places for them. You’ll also see them in airplane hangars, supermarkets, and big stores. They’re great for lighting up large areas in businesses.
These lights can also be used outdoors. For example, they work well in parking garages or sports fields. Their long life and energy savings make them a smart choice for cutting costs while keeping spaces well-lit.
Safety Precautions for Installing High Bay Lights
Essential Safety Gear
Before starting, wear the right safety gear. This helps avoid injuries. Use a hard hat to protect your head from falling items. Safety goggles keep dust and debris out of your eyes. Insulated gloves stop electrical shocks when touching wires. Non-slip boots help you stay steady on ladders or platforms. A harness is a must when working high up to prevent falls. Always check your gear for damage before using it to ensure safety.
Electrical Safety Measures
Be extra careful with electrical parts. Turn off the power in the area before starting. Use a voltage tester to make sure no electricity is running. Never work with wet hands or in damp places to avoid shocks. Make sure all wire connections are tight and covered to stop short circuits. If you don’t know how to handle wiring, ask an electrician for help. These steps make the installation safe and smooth.
Working Safely at Heights
Installing these lights often means working high up. Use a strong ladder on a flat surface. Secure the ladder so it doesn’t move. If using scaffolding, make sure it’s set up right and has guardrails. Wear a safety harness and attach it to a secure point to stop falls. Keep tools close to avoid reaching too far, which can cause accidents. These tips help you stay safe while working above ground.
Selecting the Right Location and Mounting Option
Things to Think About for Placement
Picking the best spot for high bay lights gives better lighting and saves energy. First, check how high the ceiling is. Taller ceilings need stronger lights to brighten the area well. Look at the room's size and shape. Big rooms might need more lights to avoid dark spots, while small rooms need fewer. Think about what happens in the space. For example, assembly lines need bright, focused light, but storage areas need wider lighting.
Other things matter too. Keep lights away from beams or machines that block light. Don’t put them in wet areas unless they are made for it. Good placement makes the area safer, brighter, and less wasteful with energy.
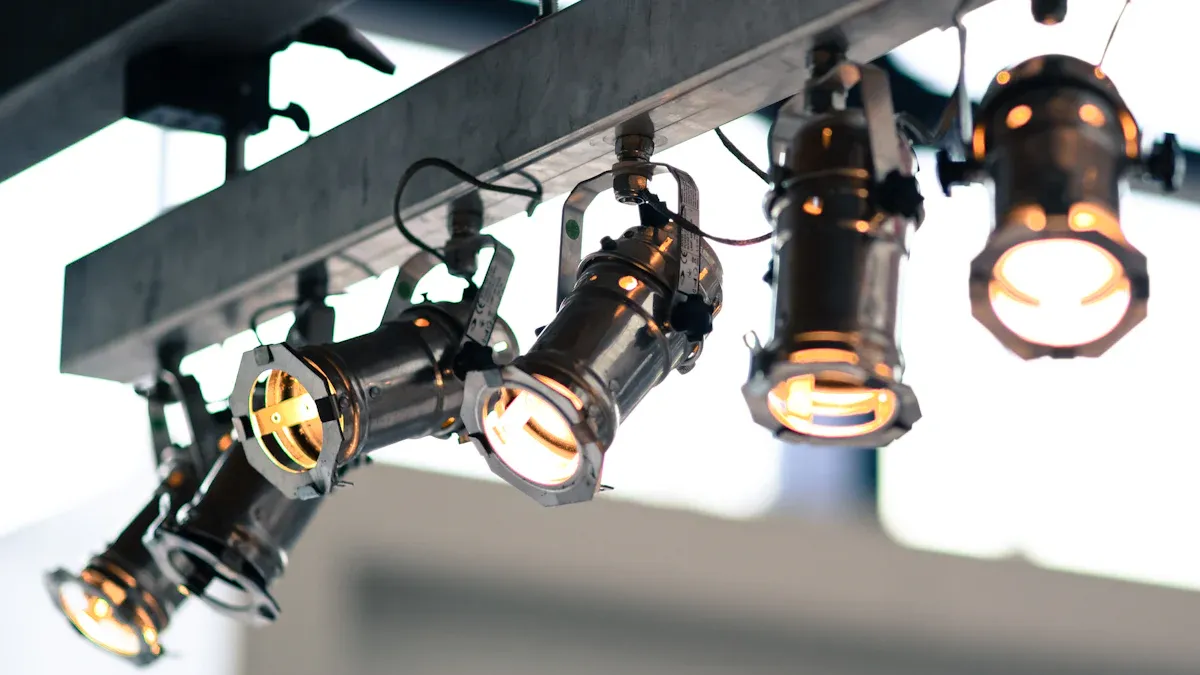
Kinds of Mounting Options
There are different ways to mount high bay lights for various needs. Common methods include:
Hook Mounts: Simple to set up and good for moving lights often.
Chain Mounts: Let you change how high the lights hang.
Surface Mounts: Attach straight to the ceiling, great for low spaces.
Each type has its benefits. Hook and chain mounts work well in factories or warehouses. Surface mounts are better for stores with lower ceilings. Pick the mounting style that fits your space and needs.
Choosing the Right Installation Height
Putting high bay lights at the right height gives good light and stops glare. Use these tips to find the best height based on wattage:
Wattage Level | Best Height (feet) | Best Height (meters) |
|---|---|---|
13 - 20 | 4 - 6 | |
200W - 250W | 20 - 26 | 6 - 8 |
300W - 400W | 26 - 39 | 8 - 12 |
500W and up | Over 39 | Over 12 |
For ceilings under 20 feet, use low bay lights instead. If the ceiling is 20 to 30 feet high, use regular high bay lights with medium beam angles (90°–120°). For ceilings over 30 feet, pick strong LED lights with narrow beam angles (60°–90°) for focused light. Following these tips keeps your space bright and energy-smart.
Step-by-Step Installation Process for High Bay Lights
Tools and Materials Needed
Before you start, gather all tools and materials. Being prepared saves time and makes the job easier. Here’s a list of what you’ll need:
Tools:
Ladder or scaffolding (fit for your ceiling height)
Drill with bits for metal or concrete
Flathead and Phillips screwdrivers
Wire cutters and strippers
Voltage tester
Measuring tape
Safety gear (hard hat, gloves, goggles, harness)
Materials:
High bay LED lights
Mounting items (hooks, chains, or brackets)
Electrical wires and connectors
Junction boxes (explosion-proof if needed)
Steel conduit for exposed wires
Make sure tools and materials meet safety standards. Look for certifications like:
DLC for energy efficiency.
UL or ETL for safety checks.
IP Ratings for dust and water protection.
RoHS to ensure no harmful substances.
These certifications mean your tools and materials are safe and reliable for industrial use.
Preparing the Installation Area
Getting the area ready is important for safety and ease. Follow these steps to prepare:
Clear the Work Area: Move obstacles at least 3 feet away from the site. This gives you enough room to work safely.
Allow Maintenance Access: Leave space for future tasks like changing filters or checking wires.
Check Emergency Routes: Make sure exits and paths stay clear during the work.
Area | Minimum Clearance |
|---|---|
Work Area | 3 feet from spray operations |
Maintenance Access | Clear path for filter changes |
Emergency Routes | Unobstructed access paths |
Keep the area at the right temperature, between 75-84°F (23-29°C). Humidity should be 40-60% to avoid condensation or overheating. Ventilate the space with 4-6 air changes per hour to remove contaminants.
Use steel conduits to protect wires. Seal conduits using NEC-approved methods. Install explosion-proof junction boxes where needed. Ground all metal parts properly. These steps improve safety and follow electrical rules.
Installing Mounting Hardware
Now, install the mounting hardware securely. The type depends on your chosen method, like hooks, chains, or surface mounts. Follow these steps:
Measure and Mark: Use a tape measure to mark spots on the ceiling for the lights. Check the recommended distances based on ceiling height:
Ceiling Height (ft)
Lumens
Watts
12-20
15-20
12,000-30,000
80/100/120/150
20-35
25-35
27,000-36,000
180/200/220/240
Drill Holes: Drill holes at the marked spots. Use a drill bit that matches the ceiling material. Make sure the holes are deep enough to hold the hardware.
Attach Hardware: Fix the mounting hardware (hooks, chains, or brackets) to the ceiling. Tighten screws and bolts to keep it steady.
Check Stability: Gently pull on the hardware to ensure it’s secure. This step prevents accidents later.
By following these steps, your high bay lights will stay stable and work well for a long time.
Wiring the Lights
Wiring the lights the right way keeps them safe and working well. Follow these simple steps to wire them:
Turn Off the Power: Find the circuit breaker for the area and turn it off. Use a voltage tester to check that no electricity is flowing. This step stops electrical shocks.
Prepare the Wires: Remove about half an inch of insulation from the wire ends using a wire stripper. Match the wires from the light to the ones in the junction box. Usually, black connects to black (live), white to white (neutral), and green or bare copper to the ground wire.
Connect the Wires: Twist the matching wires together tightly. Secure them with wire connectors to keep them in place. Loose wires can cause flickering or short circuits.
Secure the Connections: Wrap electrical tape around the wire connectors for extra safety. Push the wires neatly into the junction box to avoid damage.
Install the Junction Box Cover: After wiring, put the cover on the junction box. This keeps dust and moisture away from the connections.
Tip: If you’re unsure about wiring, ask a licensed electrician for help. Wrong wiring can cause problems or safety risks.
Securing and Hanging the Fixtures
Securing and hanging the fixtures properly keeps them stable and prevents accidents. Follow these steps to hang them safely:
Inspect the Mounting Hardware: Check that the mounting hardware is firmly attached to the ceiling. Loose hardware can make the lights unstable.
Attach the Fixture to the Mount: For hook mounts, hang the fixture on the hook. For chain mounts, connect the chains to the fixture and adjust the length. Surface-mounted fixtures should be screwed tightly to the ceiling.
Secure the Fixture: Tighten all screws, bolts, or fasteners to keep the fixture steady. Gently pull on the fixture to make sure it’s secure.
Check for Compatibility: Use parts that match the fixture’s requirements. Wrong parts can cause problems later.
Plan for Safety: Review the setup before finishing the installation. Careful planning reduces accidents and mistakes during installation.
Note: Always follow the manufacturer’s instructions for hanging the fixtures. These rules help ensure the lights work well and stay safe.
By following these steps, your high bay lights will stay secure and work properly for a long time.
Testing and Adjusting High Bay Lights
Testing Lights After Installation
Once your high bay lights are installed, test them to ensure they work well. First, turn the power back on and switch the lights on. Look at each light to check if it shines steadily without flickering or dimming. Use a voltage tester to confirm the wires are connected properly and delivering the right power.
Listen for strange sounds like buzzing. This could mean loose wires or parts that don’t match. If you find any problems, turn off the power right away and check the wiring. Fixing issues early keeps the lights safe and working their best.
Tip: Test the lights during the day and night to see how they perform in different lighting conditions.
Adjusting Light Angle and Brightness
Changing the beam angle and brightness makes the lighting better. The beam angle shows how far the light spreads, and brightness affects how well you can see. Many high bay lights let you adjust these settings.
The beam angle is the spread of light from its brightest point to where it fades.
The brightest spot is directly under the light, with the rest spreading outward.
Beam Angle | Light Spread |
|---|---|
60° | >95% |
90° | >95% |
120° | >95% |
For focused light, pick a narrow angle like 60°. For wider coverage, choose 90° or 120°. Adjust the brightness to fit the space, making sure it’s not too bright or too dim. These changes improve visibility and save energy.
Making Light Even Across the Area
Even lighting removes shadows and keeps the space bright everywhere. Ceiling height is important for this. For low ceilings, place lights closer together to avoid dark spots. For high ceilings, space the lights farther apart but keep the area bright.
For example:
In factories with 15–20 ft ceilings, place lights 10–14 ft apart.
In warehouses with 20–30 ft ceilings, space lights 16–20 ft apart.
A wider beam angle helps spread light evenly, so you may need fewer lights. Think about what the space is used for to decide the best spacing and brightness. Good planning makes sure your high bay lights give bright and even lighting.
Troubleshooting High Bay Lights
Fixing Lights That Don’t Work
If a high bay light isn’t working, check the power first. Make sure the circuit breaker is on and sending electricity to the light. Use a voltage tester to see if power reaches the fixture. If power is fine, look at the bulb or LED module. Replace it if it’s burned out or damaged.
Next, check the driver. The driver changes electricity into a form the light uses. A broken driver can stop the light from working. Replace it if it’s faulty. Also, inspect the wires. Loose wires can stop electricity from flowing. Tighten them to fix the problem.
Tip: Always turn off power before fixing electrical parts to stay safe.
Solving Flickering or Dim Lights
Flickering or dim lights can be annoying and signal problems. First, check if your dimmer switch works with LED lights. Incompatible dimmers often cause flickering. Use a multimeter to measure voltage on the dimming wires. A 10-volt reading means full brightness, while 0 volts means dimmest. If the voltage is unstable, replace the dimmer.
Make sure the dimmer isn’t overloaded. Too much load can cause flickering. Turn the circuit breaker back on and test the lights. Check if they work smoothly without flickering. Test the dimming and color to ensure proper function. If flickering continues, check the wiring. Loose or wrong connections can cause problems.
Note: Regular checks can stop flickering and make lights last longer.
Fixing Wiring Problems
Wiring issues often cause high bay lights to fail. Start by looking for damaged wires, like cuts or frays. Replace damaged wires quickly to avoid danger. Loose connections can also cause flickering or outages. Tighten all connections and cover them properly.
If the lights still don’t work, use a multimeter to check voltage at different points. This helps find where electricity stops flowing. Flickering might mean a bad driver or poor connections. If part of the fixture doesn’t work, the circuit board might be broken. These problems can affect safety certifications like UL listing. Fix wiring issues fast to keep lights safe and working.
Tip: Use good-quality wires and connectors to avoid future problems.
Maintenance Tips for High Bay Lights
Cleaning and Dusting Fixtures
Keeping high bay lights clean helps them stay bright and last longer. Dust and dirt can block light and cause overheating. Follow these steps to clean them:
Turn off the power and let the lights cool.
Use a soft cloth or duster to wipe off loose dust.
For sticky dirt, use a damp cloth with water or mild cleaner. Avoid strong chemicals that might harm the fixture.
Gently clean the lens and heat sink areas.
Clean your lights every six months or more often if the area is dusty. This keeps the lights working well and prevents damage.
Tip: Use a vacuum with a brush to clean hard-to-reach spots.
Inspecting for Damage or Wear
Regular checks help find problems early. Look for cracks, rust, or loose parts on your high bay lights. Focus on these areas:
Wires and Connectors: Check for frayed wires or loose ends that might cause issues.
Lenses and Covers: Look for cracks or discoloration that could block light.
Mounting Hardware: Make sure hooks, chains, or brackets are tight and not rusty.
Pollution and weather can also affect how lights work. Inspections keep them safe and efficient.
What It Does | |
|---|---|
TM-21 | Predicts how long LEDs will stay bright. |
LM-80 | Tests LED performance for at least 6,000 hours. |
In-situ Luminaire Temperature Testing | Checks lights in real-world conditions. |
Note: Fix any problems quickly to avoid bigger issues later.
Replacing Faulty Components
Changing broken parts keeps your high bay lights working well. LEDs don’t burn out like old bulbs but slowly lose brightness. This is called lumen maintenance.
Check the L70 rating of your lights. This shows how many hours they last before brightness drops below 70%. For example, a light rated for 25,000 hours will dim after that time.
Replace parts like drivers or LED modules if they stop working.
Use good-quality parts to keep the lights safe and effective.
Light Type | Brightness Loss Over Time | Lifespan (Hours) | When to Replace |
|---|---|---|---|
LED | >100,000 | Every 20-25 years | |
Fluorescent | 70-80% loss in 10,000-15,000 hours | 10,000-15,000 | Needs frequent replacement |
Tip: Regular care reduces the need for replacements, saving money and effort.
Installing and taking care of high bay LED lights keeps them safe and working well. Cleaning, checking parts, and controlling heat help them last longer and use less energy. The table below shows important maintenance tips:
Maintenance Task | Why It’s Important |
|---|---|
Regular Cleaning | Removes dust to keep lights bright and efficient. |
Checking and Replacing Parts | Fixes broken parts to avoid bigger problems or risks. |
Managing Heat | Helps lights last longer and saves energy. |
Adjusting Light Settings | Makes sure lights work their best and save power. |
Electrical Checkups | Keeps the system safe and follows rules. |
By doing these tasks, you’ll have brighter and safer spaces while saving money and energy. Take care of your lights to get the most out of them.
FAQ
Why are high bay LED lights better than old-style lights?
High bay LED lights save energy and last longer. They shine brighter and more evenly without flickering. They are tough and need less fixing, making them great for big places like gyms or warehouses.
Can I put up high bay LED lights by myself?
Yes, you can if you follow safety rules and know basic wiring. Use proper tools and wear safety gear. If you're unsure about wiring, ask an electrician to stay safe.
How do I pick the right wattage for my room?
Choose wattage based on how high your ceiling is. For ceilings under 20 feet, use 100W–150W lights. Taller ceilings need stronger lights, like 300W–500W. Check the wattage-height chart in the guide for exact details.
Can high bay LED lights be used outside?
Yes, many high bay LED lights work outdoors. Look for ones with high IP ratings (like IP65) to protect against water and dust. They’re perfect for parking lots, sports fields, and other outdoor spaces.
How often should I clean and check high bay LED lights?
Clean your lights every six months to remove dust. Check for damage while cleaning. Replace broken parts when needed. Regular care keeps your lights working well and lasting longer.
See Also
Your Ultimate Guide to Swapping Fluorescent Tubes for LEDs
Transforming to LED: An In-Depth Manual for Tube Replacement
All You Need to Know About LED Area Lighting Solutions
Selecting the Perfect LED Street Light for Community Initiatives
Exploring LED Replacement Options: Advantages and Setup Tips
