Troubleshooting and Replacing Light Fixture Ballasts

A ballast controls the flow of electricity in your light fixture, making sure the bulbs work safely and efficiently. You may notice problems like flickering lights, humming sounds, or dim lighting when a ballast starts to fail. If you want to try Replacing Light Fixture Ballasts at Home, remember that safety comes first. Using the right Product and switching to a Led Light can help you fix issues quickly.
You do not need to be an expert to handle basic repairs. Learn more About Us and gain confidence in your electrical skills.
Key Takeaways
A ballast manages the flow of electricity in light fixtures. It helps bulbs work safely and use energy well. - If a ballast is going bad, lights may flicker or buzz. The lights might also take longer to turn on. Fix these problems quickly. - Safety is very important when working with electrical fixtures. Always turn off the power first. Wear gloves and safety glasses to protect yourself. - Use the right tools for the job. The correct tools make changing a ballast easier and safer. - If the problem does not go away after you change the ballast, check the wiring. Make sure the ballast works with your bulbs. This helps everything work right.
Ballast Basics
What Is a Ballast
A ballast is found inside many light fixtures. It is common in fixtures with fluorescent or HID bulbs. The ballast helps the lamp start and work safely. It first gives the lamp a high voltage to turn on. Then, it lowers the voltage to keep the current steady. This keeps the lamp from using too much power. Too much power can hurt the lamp.
Ballasts are very important for fluorescent and HID lighting systems. They connect the power source to the lamp. This makes sure the lamp gets the right amount of electricity. You get steady light and do not see flickering or hear noise.
Key functions of a ballast:
Gives the lamp a high voltage to start.
Controls the electrical current for safe use.
Stops the lamp from using too much power.
Why Ballasts Fail
Ballasts can stop working for different reasons. You might see problems if the ballast cannot control electricity to the bulbs. Overheating happens a lot. If the ballast gets too hot, it can break inside or even start a fire. Humidity also affects how long a ballast lasts. Too much humidity can cause rust and make the ballast fail. Not enough humidity can make static electricity, which can hurt parts inside.
Good airflow and keeping the air dry help ballasts last longer.
Common causes of ballast failure:
Getting too hot from bad airflow or high heat.
Rust from too much humidity or water drops.
Electrical problems from broken parts.
Using old magnetic ballasts, which do not work as well and break more often.
Signs of Failure
You can tell a ballast is failing by looking for some signs. Lights that flicker and buzzing sounds are very common. If lights take longer to turn on or are not steady, there may be a problem. If you see burn marks or smell something burning, the ballast may be too hot.
Sign | Description |
|---|---|
Flickering lights | Ballast has trouble controlling current, so lights flicker. |
Buzzing noises | Fixture makes noise when ballast cannot control power. |
Delayed startup | Lights take longer to turn on, showing a problem with the ballast. |
Inconsistent light output | Lamps look dim or uneven, showing unstable power. |
Physical damage | Burn marks or smells mean overheating and a fire risk. |
Flickering and buzzing are common in fluorescent fixtures when the ballast is going bad. If you see these signs, you may need to change the ballast soon.
Safety and Tools
Safety Steps
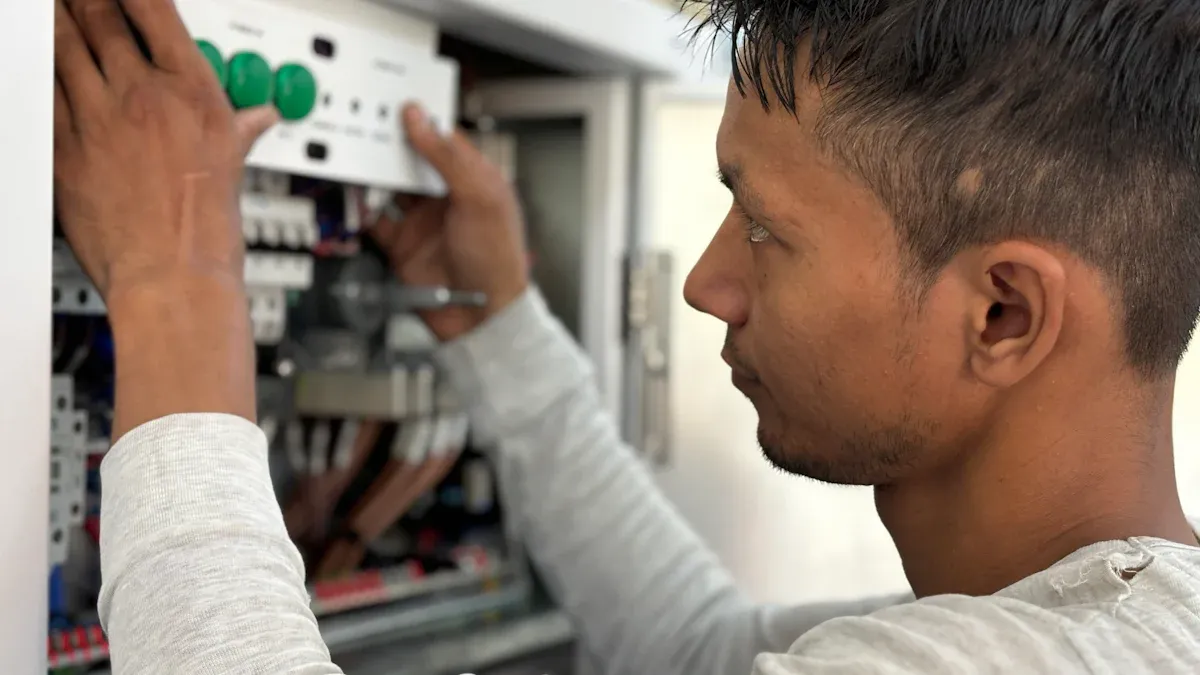
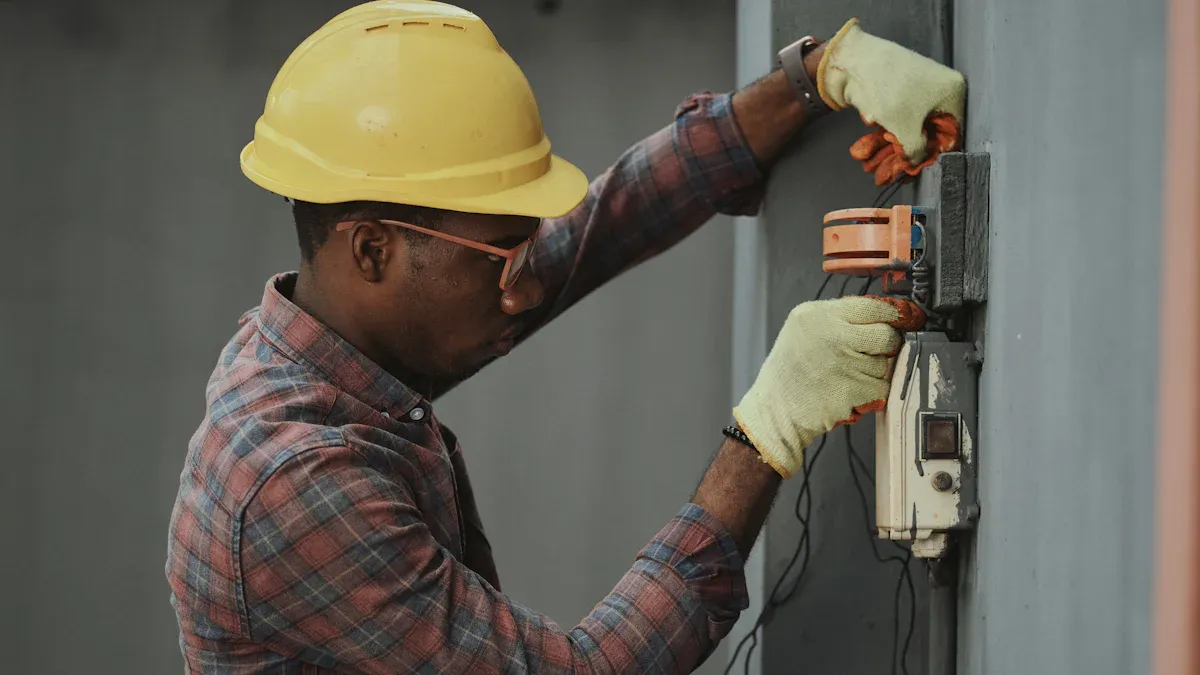
You must think about safety before fixing a light fixture. Electricity is dangerous if you do not follow rules. Always turn off the power at the circuit breaker. Use a voltage detector to check if the power is really off. Take off the fixture cover slowly so you can see the wires and the ballast.
Tip: Always read and follow the manufacturer’s instructions for your light fixture. This helps you stay safe and avoid making mistakes.
Make sure all the wires are tight and not loose. Loose wires can make sparks or even start a fire. Wear safety glasses to keep dust and small parts out of your eyes. Insulated gloves protect your hands from getting shocked. If you see any damage or burn marks, stop and call a professional for help.
Safety checklist:
Turn off power at the circuit breaker.
Use a voltage detector to make sure power is off.
Take off fixture covers carefully.
Check that all wires are tight.
Wear safety glasses and insulated gloves.
Stop if you see damage or burning.
Tools Needed
You need the right tools to fix or check a ballast. The correct tools make the job safer and easier. Get all your tools ready before you begin.
Tool | Purpose |
|---|---|
Takes out screws from the fixture | |
Wire Strippers | Removes insulation from wires |
Pliers | Twists and holds wires tightly |
Wrench | Loosens or tightens nuts and bolts |
Voltage Detector | Checks if the power is off |
Wire Nuts | Connects and holds wires together |
Safety Glasses | Keeps your eyes safe |
Insulated Gloves | Keeps your hands safe from electric shock |
You might need both flathead and Phillips screwdrivers. Wire strippers help you get wires ready for new connections. Pliers help you twist wires together so they stay tight. A wrench is good for nuts and bolts on the fixture. Always use a voltage detector before touching any wires. Wire nuts keep your wire connections safe and strong.
Using the right tools and safety gear helps you finish the job safely. You can feel sure of yourself and stay safe when working with electrical fixtures.
Troubleshooting Ballasts
Flickering or Buzzing
You may notice your fluorescent lights flicker or make a buzzing sound. These problems often point to issues with the ballast. Start by checking the type of ballast and bulbs in your fixture. Older magnetic ballasts and T12 fluorescent lamps tend to fail more often. Newer electronic ballasts and T8 lamps or LED tubes work better and last longer.
Steps to diagnose flickering or buzzing:
Look for older magnetic ballasts and T12 lamps.
Consider upgrading to electronic ballasts and T8 or LED tubes.
Other electrical devices in your home may also cause flickering.
Always think about safety. Some causes of flickering can be dangerous.
If you see flickering or hear buzzing, you should check for grounding issues. Grounding problems can cause poor electrical connections. This can make your ballast or fixture work incorrectly. Make sure the metal parts and the reflector are grounded. Proper grounding keeps your lighting safe and working well.
No Light Output
Sometimes, your light fixture does not turn on at all. You need to find out if the ballast or the bulb is the problem. You can use a few simple steps to figure this out.
How to diagnose no light output:
Switch bulbs. Put a working bulb from another fixture into the one that does not light up. If the new bulb does not work, the ballast may be bad.
Inspect for damage. Look for burn marks, water damage, or discoloration on the bulb and ballast.
Listen for sound. When you turn on the fixture, listen for a buzzing sound. If you do not hear it, the ballast may have failed.
Check for visual signs. Look for leaking oils or a swollen casing on the ballast.
Test with new bulbs. Put in new bulbs to see if they light up.
Use a multimeter. Measure resistance on the circuit to check if the ballast works.
If you see burn marks or smell something burning, stop right away. Call a professional if you feel unsure about what to do next.
Testing the Ballast
You can test the ballast to see if it works. Use a voltage detector or a multimeter for this job. Always turn off the power before you start. Remove the fixture cover and find the ballast wires.
Reading Type | Good Ballast | Bad Ballast |
|---|---|---|
Input Voltage | 120V/277V | Much lower or not steady |
Check the input voltage. A good ballast shows 120V or 277V. If you see a much lower or unstable reading, the ballast may be bad. You should also inspect wire connections. Loose or broken wires can stop the fixture from working.
Tip: Always check the grounding of the reflector and metal parts. Grounding problems can cause ballasts to fail. Proper grounding helps keep your fixture safe and working.
If you follow these steps, you can find the cause of most lighting problems. You may need to think about Replacing Light Fixture Ballasts if you find a bad ballast. This process helps restore safe and steady lighting in your home.
Replacing Light Fixture Ballasts
Replacing Light Fixture Ballasts may look hard at first, but you can do it safely if you follow each step. Work slowly and use the right tools for the job. Here is a simple guide to help you.
Remove Tubes and Covers
Begin by taking out the fluorescent tubes and covers. Handle the tubes with care so they do not break. Follow these steps:
Twist each tube gently until it comes out.
Put the tubes in a safe place so they do not fall.
Take off the fixture cover by removing screws or pressing clips.
Set the cover aside so you can reach the ballast.
Tip: Keep tubes and covers away from your workspace to stop accidents.
Disconnect Power
You must turn off the power before touching any wires. This keeps you safe from getting shocked. Use these steps:
Turn off the power at the circuit breaker.
Use a voltage tester to check that the power is off.
Look at the wires and parts you will work with.
Make sure all wires are tight before you disconnect them.
Safety first! Always check the power so you do not get shocked.
Remove Old Ballast
Once you know the power is off, you can take out the old ballast. Follow these steps:
Take off the fixture cover if you have not done it yet.
Find the ballast. It looks like a rectangle box near the middle.
Carefully disconnect the wires from the ballast. Remember how the wires were set up.
Unscrew or unclip the ballast from the fixture.
Remove the ballast and put it aside for safe disposal.
Note: Some old ballasts have dangerous stuff like PCBs. Take them to a recycling center or hazardous waste place. Do not throw them in the trash.
Description | Cost Implications and Liability | |
|---|---|---|
High Temperature Incineration | Burns up PCBs and gets rid of them. | Costs more but lowers future risk. |
Recycling Ballasts | Ballasts without leaks can be recycled; PCB parts are removed safely. | Needs special paperwork; cost can change. |
Chemical or Hazardous Waste Landfill | Okay to use but does not get rid of PCBs forever. | Cheaper but may cause problems later. |
Sanitary Landfill | Ballasts without leaks can go here. | Allowed but has high risk for problems. |
If you do not dispose of ballasts the right way, bad chemicals like mercury and PCBs can get out. These can hurt the ground, water, animals, and people.
Install New Ballast
Now you can put in the new ballast. Make sure you have the right size and type for your fixture. Follow these tips:
Slide the new ballast into place and use screws or clips to hold it.
Connect the wires from the ballast to the fixture wires (line, neutral, and ground).
Use wire nuts to keep each connection safe. Wrap them with tape for extra safety.
Look at the wiring diagram to avoid mistakes.
Make sure the ballast is tight and does not move.
Check that all wires are connected the right way.
Tip: Use new wire nuts for every connection. Old wire nuts might not hold wires well.
Test Fixture
After you finish installing the new ballast, test the fixture. This makes sure everything works right.
Put the fixture cover back on.
Put the fluorescent tubes back in.
Turn the power back on at the circuit breaker.
Flip the light switch and see if the lamp lights up without flickering or buzzing.
If the light works, turn off the power again and check your work.
If you see flickering or buzzing, check your wire connections and make sure the ballast fits your fixture.
Replacing Light Fixture Ballasts helps keep your lights safe and working well. You can avoid mistakes by using the right tools, wearing safety gear, and matching the ballast to your fixture. Always follow each step and check your work for the best results.
Common Issues After Replacement
After you finish Replacing Light Fixture Ballasts, you might notice new problems with your light fixture. You can solve most issues by checking a few key areas.
Wiring Problems
Wiring mistakes often cause trouble after you install a new ballast. You may see the light come on but look dim or wavy. Sometimes, a buzzing or hissing sound means a weak connection at the lamp prongs. Overheating or damaged insulation can also signal wiring trouble. You should inspect lamp holders for corrosion or loose connections.
The light comes on but is dim and wavy.
Buzzing or hissing sounds from the fixture.
Overheating or damaged wire insulation.
Loose or corroded lamp holders.
Dimming, flickering, or complete failure of lights.
You need to verify that you used the correct ballast type and followed the wiring diagram for your fixture. Replace any faulty sockets and use secure wire nuts. If problems continue, call an electrician to avoid fire hazards.
Tip: Always double-check your wire connections before turning the power back on.
Compatibility
Compatibility issues can stop your lights from working right. You must match the ballast specifications to your lamp type. This includes the physical size and the way the ballast starts the lamp. Measure the old ballast and make sure the new one fits. If you use the wrong starting method, your lights may flicker or not start at all.
Match ballast specifications to lamp types.
Measure the ballast to ensure a proper fit.
Check the starting method for your system.
Consider the ballast factor for steady lighting.
Follow the manufacturer's wiring diagram.
Testing the system after installation helps you catch any compatibility problems early.
Note: Using the wrong ballast can lead to poor lighting or fixture damage.
Bulbs Not Working
If your bulbs do not light up after you replace the ballast, you can follow these steps:
Check for electrical power. Look for a tripped breaker or blown fuse.
Test the bulbs. Replace any bulbs with dark ends or visible damage.
If your fixture uses a starter, check if it works.
If bulbs and starter are fine, inspect the ballast and wiring.
You may need to repeat Replacing Light Fixture Ballasts if the new ballast does not work. Careful troubleshooting helps you restore safe and bright lighting.
If you still have problems, ask a professional for help to keep your home safe.
You can fix and change ballasts if you follow easy steps. Use safety gear every time you work. Wear safety glasses to protect your eyes. Put on insulated gloves to keep your hands safe. Use a strong ladder to reach high fixtures. Always turn off the power at the circuit breaker before you start.
Taking care of your lights helps them stay bright. It also saves energy and money. Electronic ballasts help lower your bills. They make lamps last longer and help your eyes feel better. If you see burn marks or do not feel sure, call an expert for help.
Safe and good lighting makes your home or workspace nice and helps you get work done.
FAQ
How do you know if a ballast is bad?
You may see flickering lights, hear buzzing, or notice the lights do not turn on. Burn marks or a burning smell also mean trouble. If you see these signs, you likely need to replace the ballast.
Can you replace a ballast yourself?
Yes, you can replace a ballast if you follow safety steps. Always turn off the power and use the right tools. If you feel unsure, ask a professional for help.
What type of ballast should you buy?
Check your fixture and bulb type. Match the new ballast to the lamp size and voltage. Use the wiring diagram on the old ballast as a guide.
Tip: Bring the old ballast to the store for comparison.
Is it safe to use LED tubes with an old ballast?
Some LED tubes work with old ballasts, but not all. Read the LED tube packaging. If unsure, choose "ballast bypass" LED tubes and remove the old ballast for best results.
See Also
Your Complete Guide to Swapping Fluorescent Tubes for LEDs
Top LED Alternatives for Fluorescent Tubes in Businesses
How to Properly Install High Bay LED Lighting Systems
Measuring LED Tubes: Choosing the Perfect Replacement Options
Complete Guide to Transitioning from Fluorescent to LED Lighting
